
When putting together online content, simply offering static images doesn’t quite cut it anymore. People crave interactive content, engagement, and a little bit of magic in their online experiences.
This is why interactive images can be so powerful. But what are they? Let’s explore some cool examples, and see how you can create interactive photos with some user-friendly tools.
What Are Interactive Images?
Think of interactive images as traditional photos or illustrations on steroids. These are images that have clickable elements—hotspots, text overlays, animations, and multimedia—that come alive when users interact with them.
Whether it’s popping up additional information, playing a video, or guiding users through a story, interactive images turn passive viewing into an engaging experience directly on your WordPress site.
Examples of Interactive Image Implementations
There are several exciting ways to use interactive images to captivate your audience:
Image Hotspots
Hotspots are specific areas on an image that reveal more information when clicked or hovered over. For instance, an image of a smartphone might have hotspots on different parts of the device, each revealing specs, a video demo, or a hyperlink to a relevant page.
Text Layers
Adding text layers directly on your images can provide context or extra functionality without overwhelming the visual. This is particularly useful for educational content or infographics.
Animations
Animations can highlight important parts of your image. You might use animations to draw attention to a new product feature or to guide users through a step-by-step tutorial.
Multimedia Content
Embedding videos, audio clips, or GIFs within an image can create a rich, engaging experience. Imagine image maps where clicking on a city plays a video tour of that location.
Interactive Storytelling
Combine all the above elements to create an immersive storytelling experience. For example, an interactive comic book might include animated scenes, character backstories accessible through hotspots, and audio narration.
Tools for Creating Interactive Images
Several tools make it easy to create interactive images without needing to be a tech wizard. Here are some of the best ones:
Genially
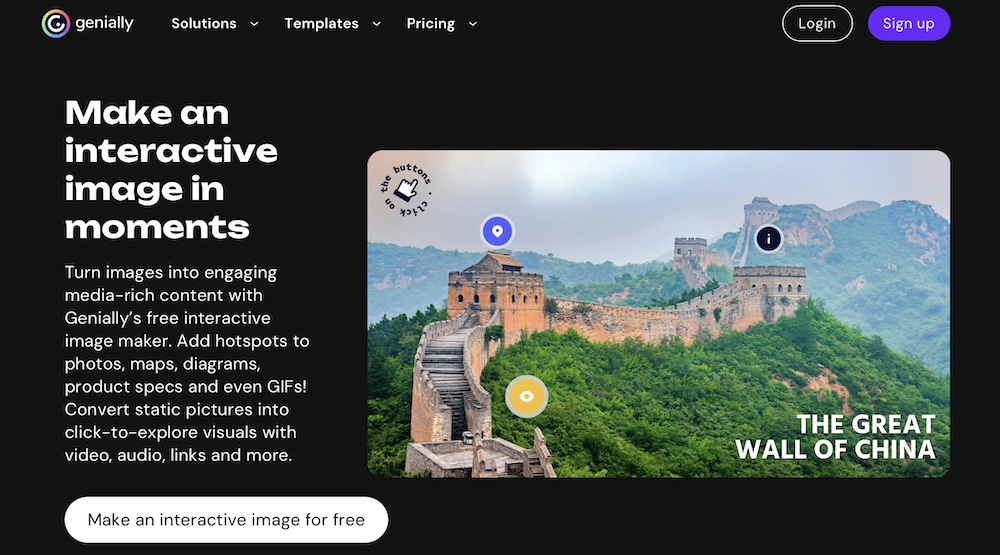
Genially is a fantastic tool for making interactive images, offering a drag-and-drop editor that lets you add animations, clickable hotspots, and embedded multimedia. It has a solid template gallery and would work well for educators, marketers, and anyone looking to add a dynamic touch to their visuals. You can start with a blank canvas or use their templates to get inspired.
ThingLink

ThingLink allows you to add hotspots to images, videos, and even 360° media. It’s ideal for creating virtual tours, e-learning modules, and engaging presentations. Their scenario builder is great for immersive learning experiences, making it popular in both education and corporate training.
Drawpoint
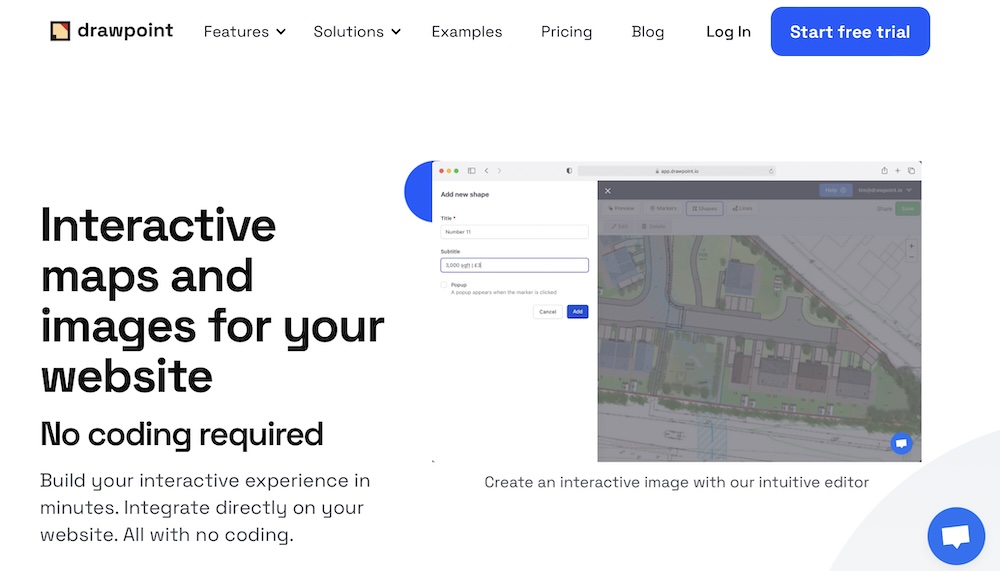
Drawpoint offers an easy-to-use editor for creating interactive images with customizable markers, popups, and animations. It supports various formats, including PNG, JPEG, and SVG, and allows for easy integration into your website with no coding required. Plus, it provides detailed analytics to track engagement.
Interactive Image
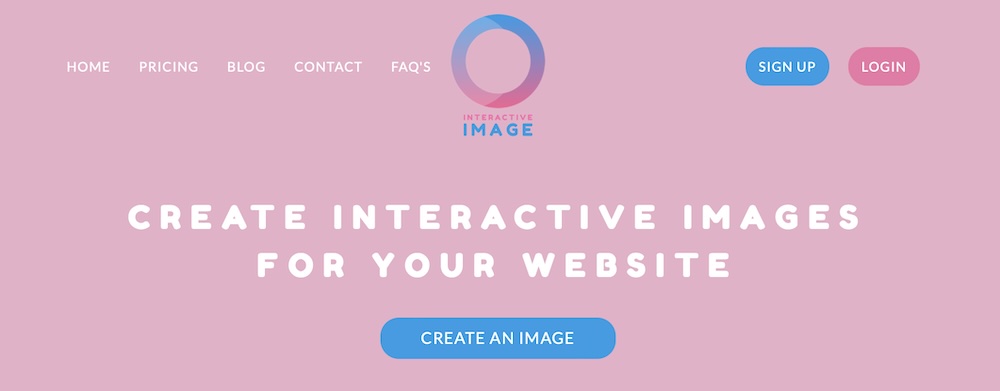
Interactive Image simplifies the process of making your images interactive. Upload your image, set hotspots, and embed it on your website or blog. This tool is perfect for product demonstrations, marketing materials, and educational content.
Use Cases
Practically speaking, what are some ways to use interactive images? Let’s take a look:
- Virtual Tours: Use ThingLink to create interactive experiences like virtual tours of campuses, historical sites, tourist attractions, or floor plans for apartments. Each hotspot can provide detailed information, videos, or photos related to specific locations.
- Product Demos: Drawpoint can be used to create interactive product demonstrations for your ecommerce shop, showing off features through expandable info points and custom popups.
- Interactive Infographics: Use Genially to make infographics that come to life with animations and clickable areas that provide more in-depth information.
- Educational Modules: Use Genially in your workflow to create immersive educational JPGs that include interactive maps, step-by-step tutorials, and quizzes. You could configure your LMS plugin to include these images right within the content your students interact with.
How to Get Started
Getting started with interactive images is easier than you might think. Here are some steps to guide you:
- Choose Your Tool: Select a tool that fits your needs and budget. Genially and ThingLink offer free versions with basic features, while Drawpoint and Interactive Image provide more specialised options.
- Plan Your Content: Decide what kind of interactions you want to include. Will you use hotspots, text layers, animations, or multimedia? Plan out where these elements will go on your image. And decide where it’ll appear on your site. Will it appear on your homepage? A landing page? A blog post?
- Create Your Image: Use the chosen tool’s editor to upload your image and add the interactive elements. Customise the design to match your branding and ensure the interactions are intuitive.
- Embed and Share: Once your interactive image is ready, embed it on your website, blog, or social media. Most tools provide an easy way to do this with a simple copy-paste of an embed code or link.
Put Interactive Images to Work in Your Content
Interactive images are a powerful way to transform static visuals into engaging experiences. Adding those clickable elements, text layers, animations, and multimedia to your images, you can capture and retain your audience’s attention like never before.
So whether you’re enhancing educational content, showcasing products, or creating immersive storytelling, you can better bring your ideas to life with this approach.
If you want more time for creative endeavors like this, why not hand over site maintenance to us? We at Newt Labs can help!