Are you grappling with plugin issues on your WordPress site? White screen of death got you down? Fret not! This in-depth tutorial will explore how to fix plugins by delving into the specific steps and techniques you need to follow to troubleshoot common WordPress plugin issues.
By the end of this article, you’ll be adept at troubleshooting and resolving plugin-related issues efficiently and effectively.
So let’s not delay and get right to it!
Common WordPress Plugin Issues and Their Causes
To effectively fix plugin issues, it’s crucial to understand the most common problems and their root causes. Here are some typical issues you may encounter:
- Plugin conflicts: Two or more plugins might interfere with each other’s functionality, causing your site to malfunction. For instance, if you’re using two caching plugins, they may conflict and negatively impact your site’s performance.
- Outdated plugins: Old, unsupported plugins can cause compatibility issues with the latest WordPress version, other plugins, and themes.
- Incompatible themes: Themes can sometimes conflict with plugins, leading to site errors or broken functionality. A theme using outdated or poorly coded HTML, CSS, or JavaScript can cause issues with plugin functionality.
- Insufficient server resources: When your site’s server lacks the necessary resources to run your installed plugins, it can lead to poor performance or crashes. For example, a complex plugin might require a higher PHP memory limit than your current hosting plan allows.
- Security vulnerabilities: Outdated or poorly developed plugins can expose your site to security risks, such as unauthorised access or data breaches. Likewise, failing to have SSL on your site (made evident by a lock symbol in the address bar) can put your entire site (including its plugins) at risk.
And remember, since all of these issues are associated with your website, it doesn’t matter which operating system you use — Windows, macOSX, or otherwise — these issues can affect your site!
How to Identify Plugin Issues
Identifying the cause of the problem is the first step in learning how to fix plugins in WordPress. Here are some methods for detecting potential issues:
- Monitoring website performance: Regularly check your site’s speed and functionality using tools like Google Chrome’s Developer Console or Microsoft Edge’s F12 Developer Tools to spot any issues.
- Using error logs: Error logs provide valuable information on any issues with your site. Check your hosting account’s control panel or use a plugin like Error Log Viewer to access these logs.

- Debugging mode in WordPress: Enabling WP_DEBUG in your wp-config.php file can help you identify PHP errors caused by plugins. This will display error messages on your site, which can assist in pinpointing the problematic plugin.
- Browser console errors: Use your web browser’s developer tools to inspect JavaScript, CSS, or HTML errors related to your plugins.
Troubleshooting and Fixing Plugin Issues
Now that you’re familiar with identifying potential issues, let’s dive into how to fix plugins in WordPress:
Deactivating and Reactivating Plugins
One of the most effective methods for identifying and resolving plugin issues is deactivating and reactivating your plugins. This process helps you pinpoint the problematic plugin, enabling you to take appropriate action to fix the issue. In this section, we’ll guide you through the steps to do just that.
Step 1: Identifying the Problematic Plugin
Log in to your WordPress admin area, and navigate to the Plugins page. Deactivate all plugins by selecting them, choosing Deactivate from the drop-down menu, and clicking Apply. This process will help determine if a specific plugin is causing the issue.
Step 2: Resolving the Issue
Reactivate plugins one by one, checking your site’s functionality after each activation using a web browser. When the issue reappears, you’ve identified the problematic plugin. At this point, you can reach out to the plug-in support team for assistance or find an alternative plugin that offers similar functionality without conflicts.
Updating Plugins, Themes, and WordPress
Keeping everything on your site up-to-date can do a lot toward fixing (and preventing) issues as well.
Manual Plugin Updates
Ensure you’re using the latest version of WordPress and that your theme and all plugins have been updated to their newest versions. Update them manually from your WordPress admin area or by downloading the latest version from the respective developers’ websites and uploading them to the plugins folder.
You can do this by accessing your site via an FTP client like FileZilla.
You should only perform the second method if the plugin error has made it so you can no longer access the admin area.
Automatic Updates
Enable automatic updates for WordPress, themes, and plugins to avoid future compatibility issues. This can be done using a plugin like Easy Updates Manager.

Checking for Theme Conflicts
In some cases, theme conflicts can be the root cause of plugin issues. To ensure compatibility between your theme and plugins, you’ll need to identify and resolve any theme-related conflicts. In this section, we’ll walk you through the process of detecting and addressing theme conflicts.
Switching to a Default Theme
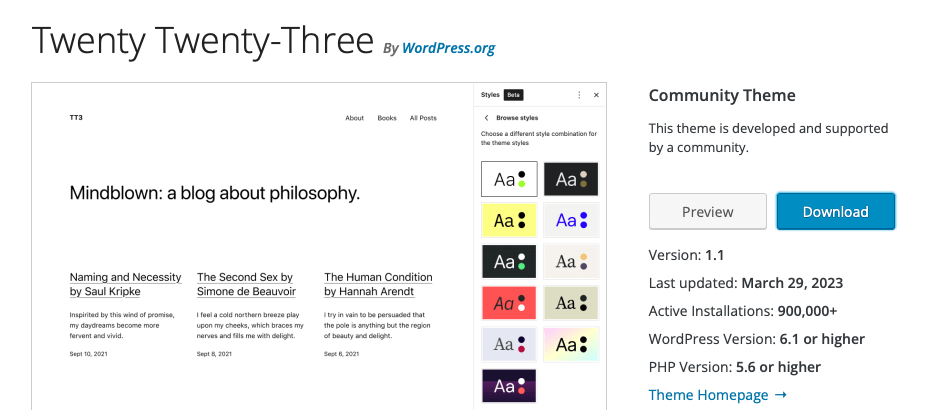
Temporarily switch to a default WordPress theme (e.g., Twenty Twenty-Three) to see if the issue persists. If the problem is resolved, it’s likely a theme conflict.

Identifying and Resolving Theme-Related Issues
Work with your theme’s developer or support team to address any conflicts. Alternatively, consider switching to a different theme that is known to be compatible with your plugins. This will ensure smooth functionality and prevent future theme-related plugin issues.
Increasing Server Resources
Insufficient server resources can lead to poor plugin performance or even crashes. To improve your site’s performance and prevent plugin-related issues, it’s essential to increase your server resources. In this section, we’ll guide you through the process of enhancing your server resources.
Upgrade Hosting Plan
Upgrade your hosting plan to ensure sufficient server resources for your site and plugins. Consult your hosting provider for information on the best plan for your needs.
Optimising Website Performance
Optimise your site’s performance by using caching plugins, reducing image sizes, and minimising the use of resource-intensive plugins. You can also increase your site’s PHP memory limit by editing your wp-config.php or php.ini file.
Addressing Security Vulnerabilities
Outdated or poorly developed plugins can expose your site to security risks. It’s crucial to address these vulnerabilities to protect your WordPress site from potential threats. In this section, we’ll outline the steps to safeguard your site from security vulnerabilities.
Step 1: Regularly Updating Passwords
Change your WordPress admin, FTP, and hosting account passwords regularly to prevent unauthorized access.
Step 2: Using Security Plugins
Install reputable security plugins like Wordfence or Sucuri to protect your site from potential threats.

Step 3: Keeping Backups
Regularly backup your site using a plugin like UpdraftPlus or a service provided by your hosting company. This ensures you can quickly recover in case of a security breach or other issues.
Preventing Future Plugin Issues: Proactive Measures for a Smooth WordPress Experience
To minimise future plugin issues and maintain a seamless WordPress experience, it’s essential to adopt best practices and stay proactive. In this section, we’ll outline key measures to help you prevent plugin-related problems and keep your site running smoothly.
Step 1: Choosing Reputable and Well-Supported Plugins
Install plugins developed by trusted developers with a proven track record of regular updates and good support. This ensures that you’re using high-quality plugins that are less likely to cause issues with your site.
Step 2: Regularly Updating Plugins and Themes
Keep your plugins and themes up-to-date to maintain compatibility with the latest WordPress version and to patch any security vulnerabilities. This practice helps prevent compatibility issues and keeps your site secure.
Step 3: Monitoring Website Performance and Security
Regularly check your site’s performance and security to spot potential issues early. By monitoring your site, you can identify and resolve plugin issues before they escalate, ensuring a better experience for your users.
Step 4: Testing Plugins in a Staging Environment
Before making changes to your live site, test new plugins or updates on a staging site to avoid unexpected issues. Tools like WP Staging or Duplicator can help you create a staging environment, allowing you to safely test changes before applying them to your live site.

By completing these steps on a regular basis, you can ensure your WordPress site will avoid issues related to plugins in the future.
Learn How to Fix Plugins in WordPress and Maintain a Healthy Site
Today, we’ve covered how to fix plugins in WordPress by identifying, troubleshooting, and resolving common plugin issues using various methods such as deactivating/reactivating plugins, updating components, resolving theme conflicts, and addressing security vulnerabilities.
Remember, ongoing maintenance and monitoring are crucial for a smooth and secure WordPress experience. And often, a multi-pronged approach is best to tackling complex issues such as this.
By following the steps outlined above and adopting proactive practices, you’ll be well on your way to a hassle-free WordPress site maintenance plan.
Now that you’re a WordPress plugin troubleshooting expert, go forth and conquer those pesky plugin issues, and enjoy the full potential of your WordPress website — worry-free. Good luck!
