
43% of all websites and counting run on WordPress.
This figure doesn’t come off as a surprise because WordPress is free, easy to use, and SEO-friendly. It also offers a wide availability of plugins that takes WordPress-powered sites up a notch.
Beyond that, the content management system’s adaptability to changes remains one of its most dependable features. Regularly, WordPress introduces users to updates ensuring that their sites are secure and running smoothly.
One of its latest introductions comes with the release of WordPress 5.0. The update redefined the way you create content as it says goodbye to a classic editor by paving the way for a new one:
WordPress Gutenberg.
In this WordPress Gutenberg tutorial, you will learn about the block editor. You will learn what it is, why you should use it over the classic editor, how to use it, and more.
WordPress Gutenberg Tutorial: What Is It?
Gutenberg is the new WordPress editor. It takes its name from Johannes Gutenberg. He introduced printing to Europe by inventing a printing press with mechanical movable type.
Unlike the classic editor, Gutenberg lets you create content using blocks. They are elements that you can add to your page.
You can add a block for every image, video, paragraph, and other page elements. It’s up to you to add the number of blocks you want.
Why Use Gutenberg Over the Classic Editor?
If you’re new to WordPress, you should be able to transition to using Gutenberg just fine.
However, old WordPress users have a bone to pick with Gutenberg and for a good reason.
Matt Mullenweg, the founder of Automattic (the business behind WordPress), introduced Gutenberg at WordCamp Europe 2017. Around this time, a version of Gutenberg had been deployed as a plugin for feedback and to help ease users to the new publishing experience WordPress is aiming for.
Users were not happy with the plugin, to put it mildly.
It changed everything they love about creating content on WordPress.
The classic editor is similar to Microsoft Word. It’s a text editor that comes with formatting buttons. And it allows you to edit your content via a visual editor.
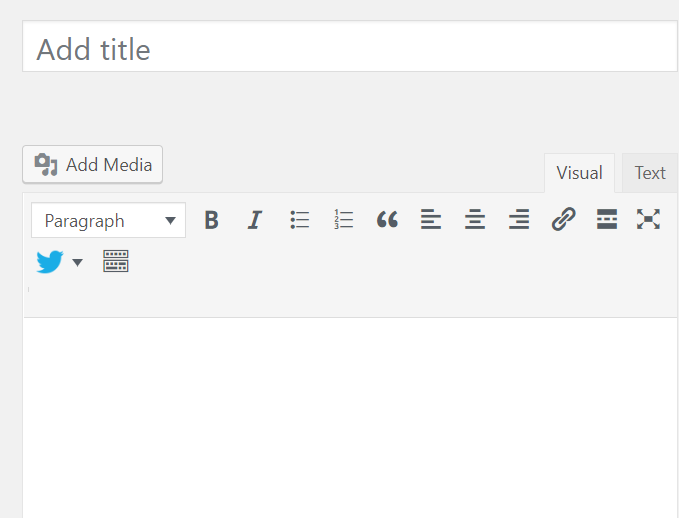
So if you’ve been using Microsoft Word or any document editor all your life, the classic editor should make you feel right at home.
Later, I’ll show how Gutenberg works and how it is a drastic departure from the classic editor.
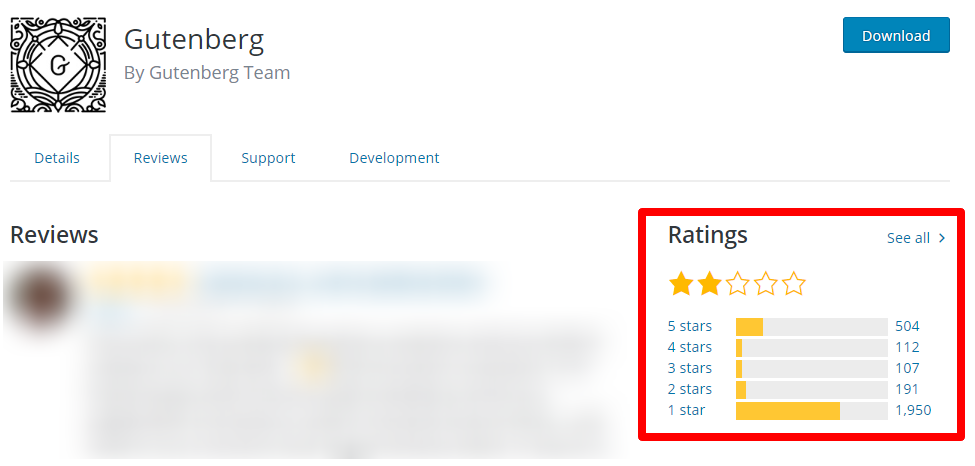
If there’s a way to show you how much the WordPress community rejected Gutenberg, then looking at its plugin rating should give you a good idea:
So, going back to the question: why should you use Gutenberg?
The answer is really simple:
Gutenberg is here to stay, whether you like it or not.
The more you resist, the more you stay behind as WordPress innovates with the Gutenberg editor.
While this defiant stance of WordPress continues to be met with scrutiny, at the end of the day, Gutenberg will still be there.
Considering the reservations against Gutenberg, the best anyone can do is try it first.
Play around with the editor and form an informed opinion about it. And while it does change your way of creating content, Gutenberg doesn’t have to be an obstacle.
Once you’ve tried it out for a period, you will notice that it could prove to be better than the classic editor in the long run.
For one, Gutenberg is more responsive and reacts quickly to any changes via JavaScript compared to the classic editor.
Let’s face it – the classic editor wasn’t enough for most people who want to let their content achieve the desired effect.
With the classic editor, they needed to install a plugin before they could implement a complex type of content. Without a plugin, they’re quite helpless.
At the end of the day, the goal of WordPress with Gutenberg is to help users create useful pages without the use of page builders and other third-party tools that power most WordPress sites.
By simplifying things, WordPress users should be able to crank out more complex and beautiful pages on their sites.
But can Gutenberg do it?
How to Create a New Blog Post or Page Using the Block Editor
Gutenberg may look different from the classic editor. But it doesn’t mean you must learn the editing process from scratch.
The Gutenberg WordPress block editor is intuitive. It still allows you to do everything in the classic editor.
First up is to create a new blog post or page. You can make this happen the way you normally do.
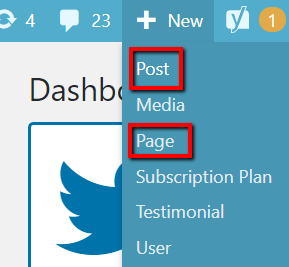
Just head to your WordPress dashboard and click + New on the upper section. To create a new post, choose Post. If you want to create a new page, choose Page.
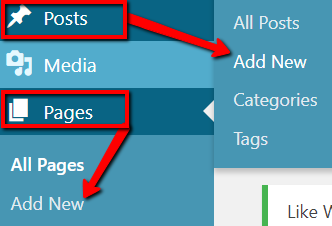
You can also use the side menu for this. Just choose what you want to create, whether Posts or Pages. Then click Add New.
How to Add Blocks
Once you have created a new post or page and also launched the block editor, you can start adding blocks. Just click the plus sign on top of the edit screen.
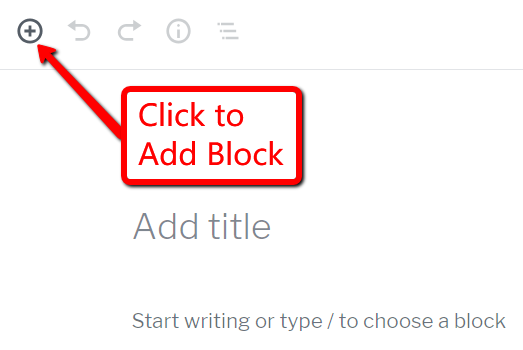
The block settings will then appear. Choose which specific block you want to add.
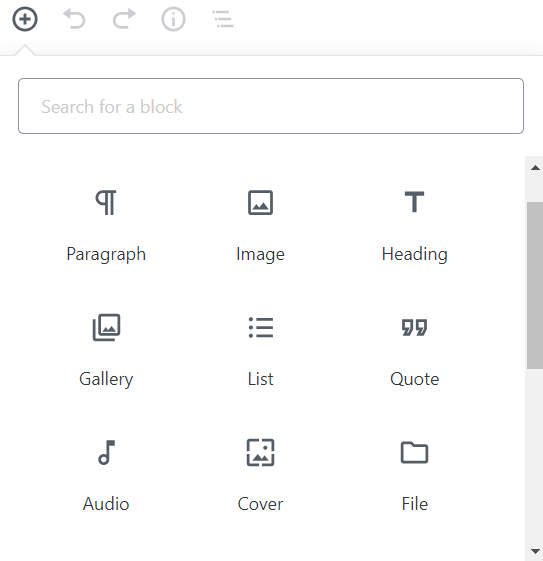
If you don’t have a specific block to add, you can return to the edit screen. There, you will find default blocks that you can use to create a standard piece of content.
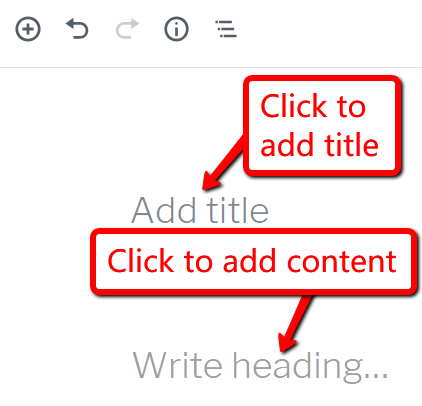
One of your default blocks is your Title block. It’s where you can input your title.
The next is a Paragraph block. It’s where you can enter a paragraph or other pieces of text content.
These two default blocks should be enough if what you’re aiming for is a simple post or page. If you’re not going for anything but a title and text, you’re all good. But if you want something fancy, then you need additional blocks.
To add another block below these two default blocks, clicking the plus sign will do the trick. And if you want to add a block between your existing blocks, you can do so with the help of the plus sign at the bottom of an existing block.
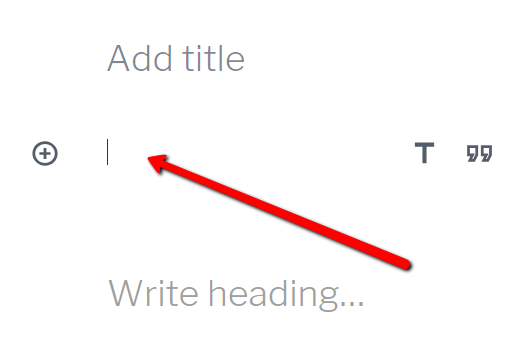
For example, add a block between your Title and Heading blocks. Therefore, you need to click the Title block first. Then look for the plus sign at its bottom and click it.
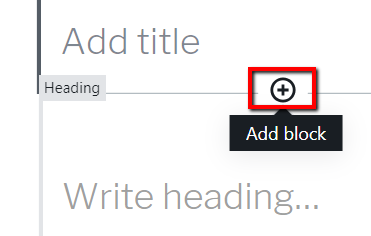
And as you can see from the result, I added a Paragraph block between my Title and Heading blocks.
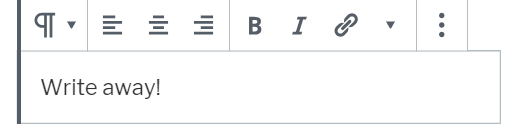
To start adding content to blocks, just click on one of them. Then write away!
Like this:
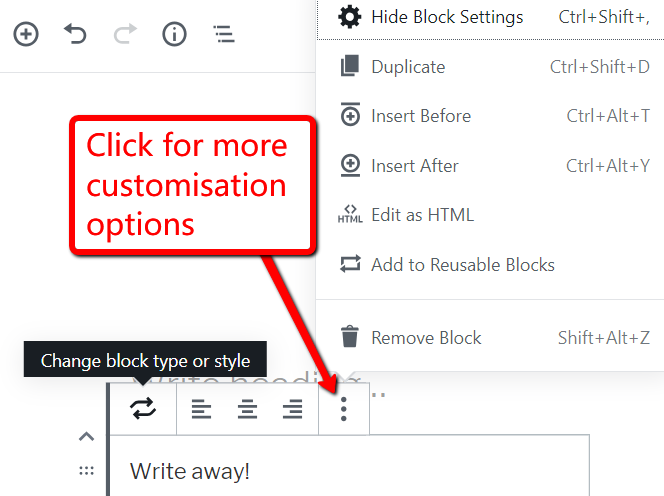
You’re free to customise the content of a block. You can change the block type or style.
You can also use the standard formatting and choose bold and italic texts. And if you want to change the content’s alignment to left, centre, or right, it’s up to you.
You can also load more customisation options!
Tip: You can rearrange blocks by clicking on the up and down arrows.
This helps you organise your content and page layout much quicker than ever before!
How to Add Reusable Blocks
An impressive and unique feature that Gutenberg has over the classic editor is that you can work with Reusable Blocks in the block editor.
This is most helpful to site owners who usually add snippets to their content. With this, they won’t have to compose the same type of content repeatedly.
As their name suggests, you can use these Reusable Blocks repeatedly. Once you have saved them in your collection, they become a block type you can easily add!
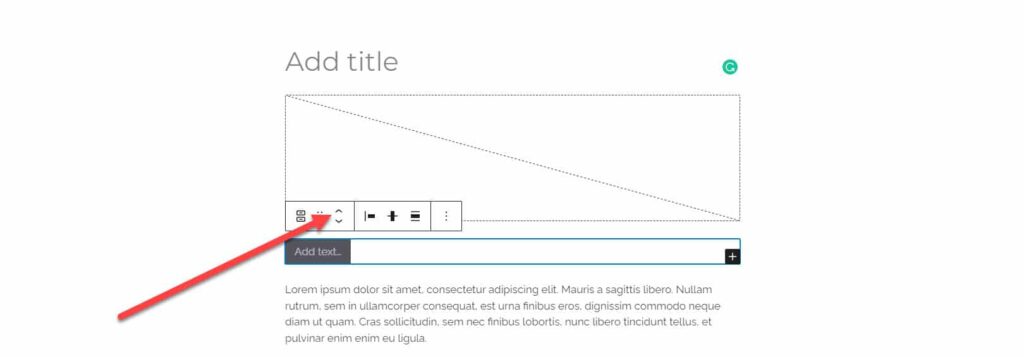
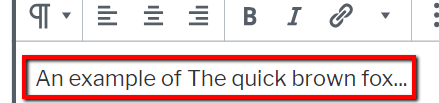
To start creating Reusable Blocks, first enter the content you want in a standard block.
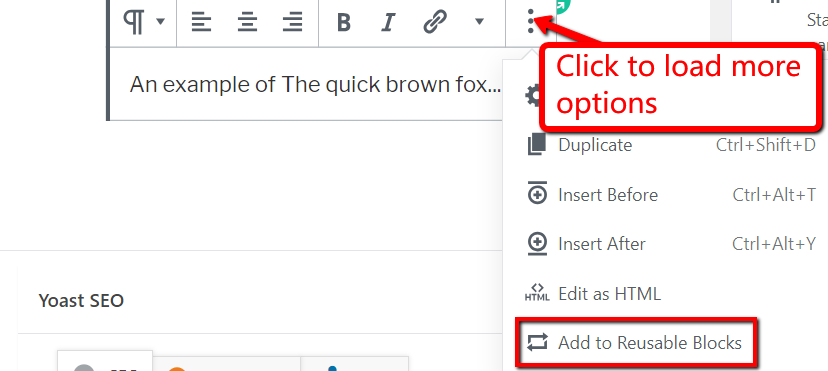
Then load up more options and select Add to Reusable Blocks.
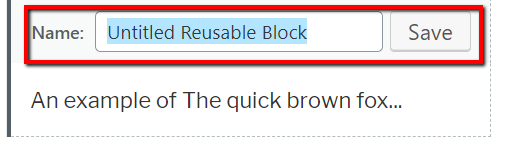
Next, name your block. Then hit Save.
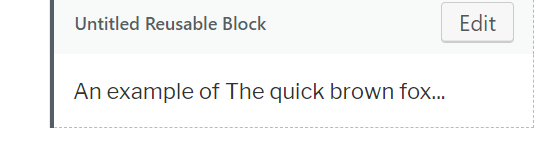
To use it, click the plus sign to add a block. This is the normal way you add a block.

Then search for your reusable block according to the name you used earlier. In this case, it’s an Untitled Reusable Block.
Next, insert it into the edit screen.

And as you can see below, it’s there!
How to Use Block Patterns
Block patterns are predefined blocks with a set design and layout that you can tweak and edit.
These are extremely handy, especially if you want to design a page quickly and build it off existing pre-designed blocks instead of starting out from scratch.
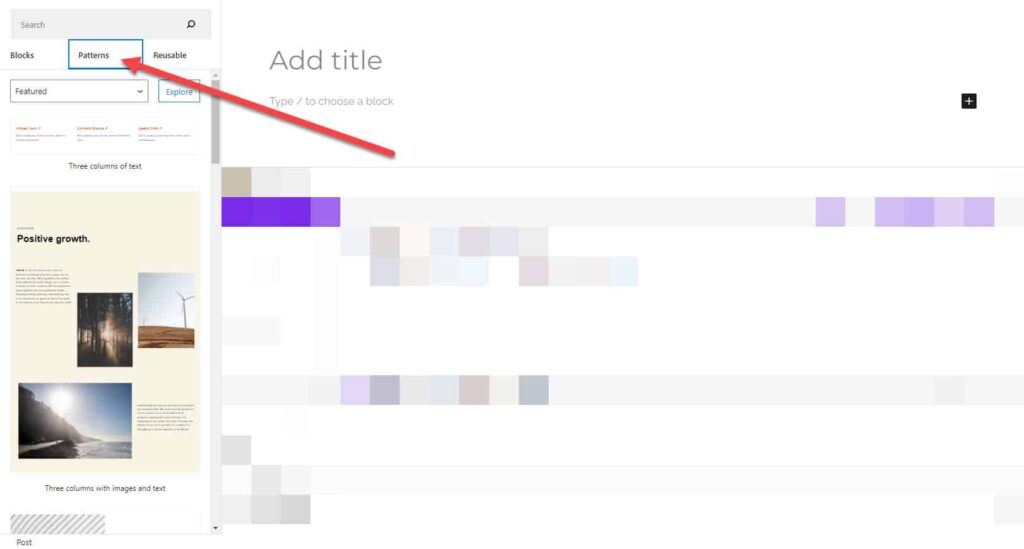
To access these, click the plus icon to add a block and click “Browse All.” This will open a sidebar on the left containing the different blocks you can add to the page.
Then click on the Patterns tab to show the different block patterns to choose from.
Click on the Explore button to show you all the different block patterns you can add to your page.
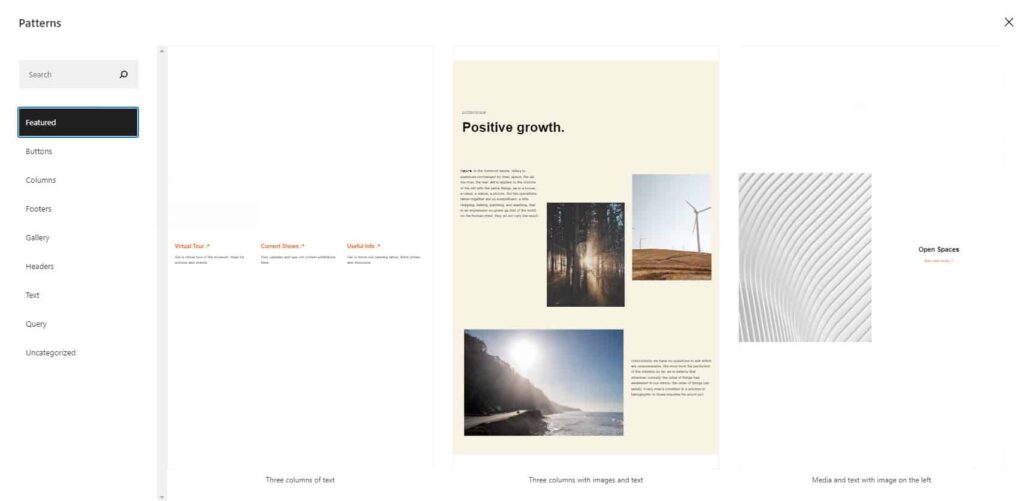
Click on the block that you want to feature on the page.
As mentioned, you can edit the chosen block by adding common blocks to it. Speaking of which…
Common Blocks
How to Add Images
Gutenberg also makes it easy for you to bring media files in.
With the classic editor, you must upload a media file to your gallery before inserting it into your post. Well, that time-consuming approach is gone now, thanks to Gutenberg.
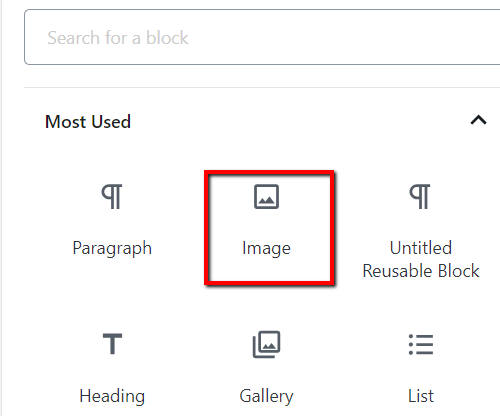
To get started, just add an Image block.
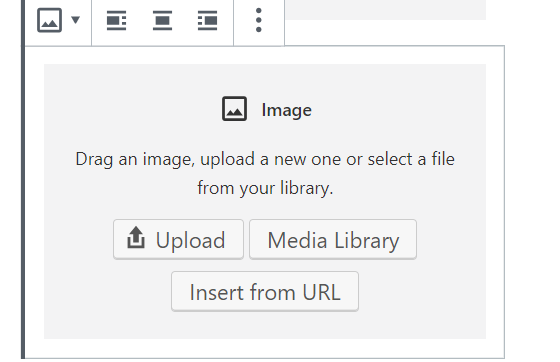
From there, you can upload an image. You can also retrieve an image from your Media Library. Or you can insert it from a URL.
You can also go with a ready-made option. As you edit a block, you can see the icon for uploading an image. You can click that!
Want to make this approach even easier? You can simply select a block. Then copy an image and paste it into the edit screen!
This is how it will look like:
How to Add an Image Gallery
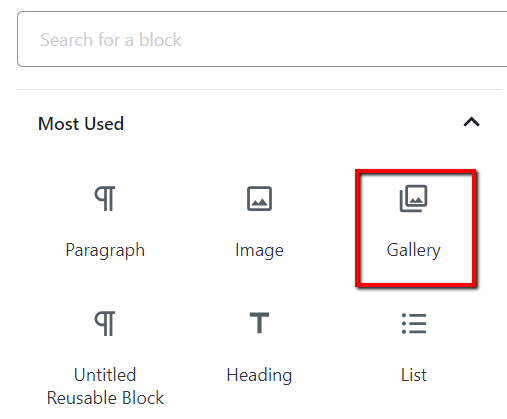
There’s no stopping you, too, if you want to use multiple images in one go. This will be a piece of cake for you because a Gallery block is among the common blocks in Gutenberg.
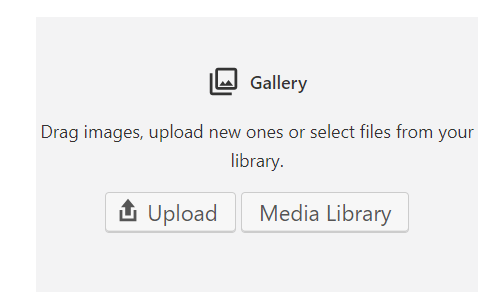
From there, you can hit it off by clicking Upload and then uploading multiple images. Using images from your Media Library is fine, too.
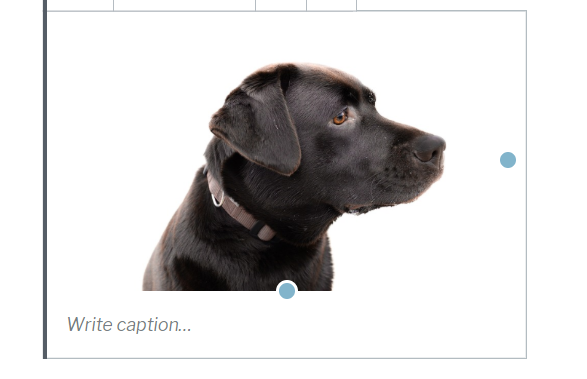
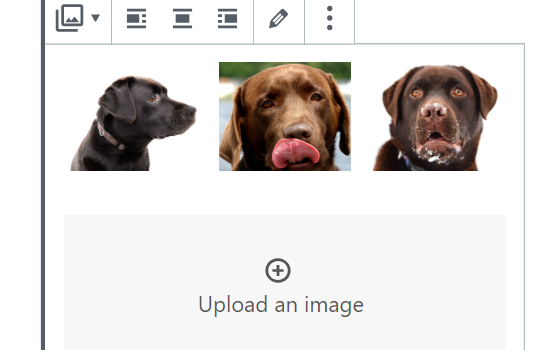
After you upload images into a Gallery block, this should be the result:
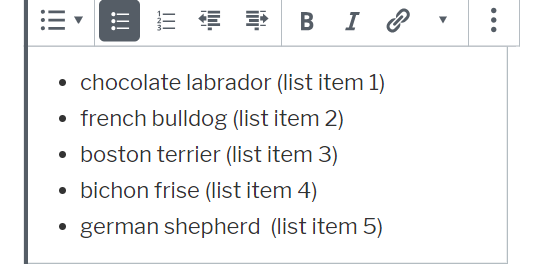
How to Add Lists
Another common block allows you to add lists. Just choose the List block.
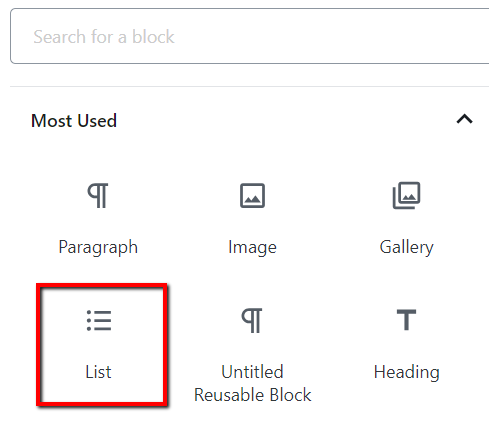
Once the block is added, you can start creating your list.
Just like this:
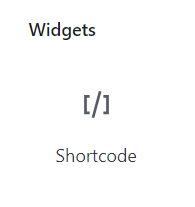
How to Add Shortcodes
Just like they did wonders for you when using the classic editor, shortcodes will still work in the Gutenberg block editor. All you need is to add a Paragraph block.
Then you can type the shortcodes you plan on using.
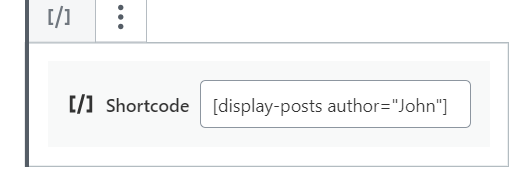
An explicit alternative? You can simply select the Shortcode block under the Widgets category.
Here is an example. It’s a shortcode that lets you specify an author.
Special Content Blocks
And if you want to amp up your post or page with Gutenberg, a way to do this is to use special content blocks.
With the classic editor, sure, it works, too. You could figure out how to incorporate unique elements, such as cover images, into your posts or pages. That could be challenging and time-consuming, though.
With Gutenberg? You don’t need to rack your brains or spend a lot of time to make it happen. With the block editor, all you need is to add blocks!
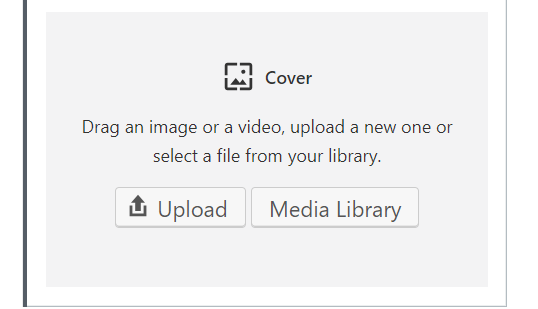
How to Add Cover Images
What’s unique about cover images is that they result in more engaging content. People are likely to check out your post if it features a cover image.
To begin, go with the Cover block for this.
Once you have chosen this block, just upload an image. You can also use one from your Media Library.
The result will look like this:
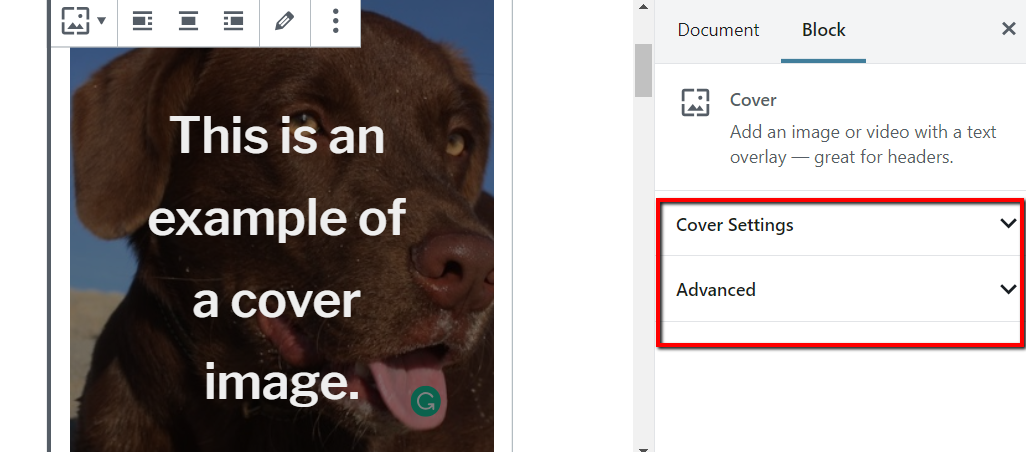
By then, you can have a cover image for your post or page. Another advantage of this block is that it lets you edit your image.
Head over to the Cover Settings and Advanced Settings on its right.
How to Create Multi-Column Content
Another special block that you can add in Gutenberg is the Columns block under Layout Elements.
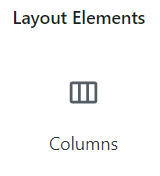
This is most useful if you want to compartmentalise your content. This block lets you create multiple columns. And it lets you add text into those columns.
Best WordPress Gutenberg Themes
Now that you know your way around Gutenberg, it’s time to install a Gutenberg-friendly theme for your WordPress site. Wondering why?
Well, some WordPress themes work seamlessly with the block editor. Unfortunately, you can’t say the same for all WordPress themes.
Installing a Gutenberg-friendly theme is an approach toward a successful web design process. It’s how you can show your brand’s full potential through your site. And it’s how you can make the most of the block editor.
The best ones are as follows.
Astra

This stylish WordPress theme optimises your site for speed and performance. Among the things that make it stand out are the starter sites that it features to help you quickly launch what you have.
Thanks to the page builder’s support, designing your layout or fully customising your template with Astra is possible. It comes with other custom settings for headers and colours, crisp typography, and more!
Divi

If you want a highly flexible and powerful theme for your site, this is an excellent choice. It features real-time design settings that can instantly help you visualise the kind of design you want for your site’s layout.
What makes it unique is that it also presents you with click-and-type functionality. Therefore, it lets you add content anywhere on your site.
Divi makes for responsive editing. Plus, it offers pre-built layouts, a design toolkit, content modules, and more!
Genesis Framework
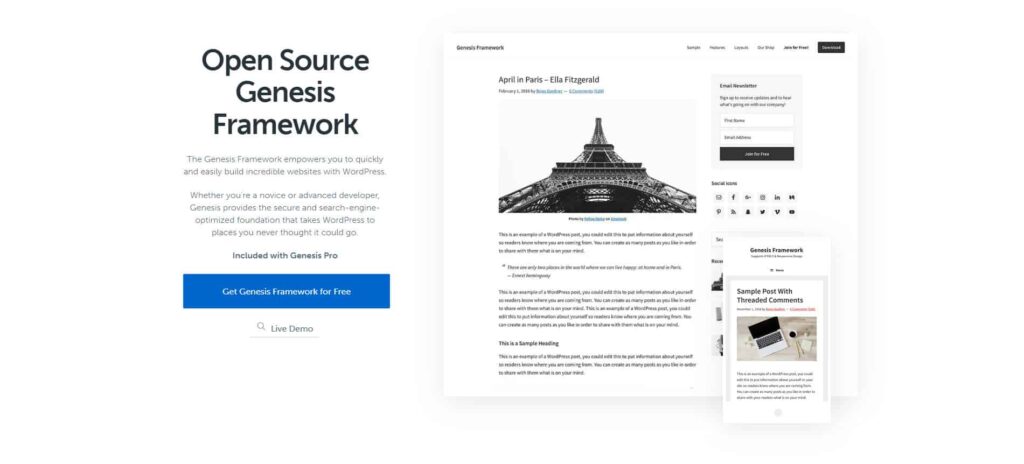
Apart from focusing on SEO and your site’s performance, an outstanding feature of this is that it’s a starter theme or framework. With minimal styles, it provides a solid ground that can support you in making your very own WordPress theme.
And as a framework, Genesis Framework can help you spruce up your site on top of using the block editor. You only need to install different child themes, such as Infinity Pro and Parallax.
OceanWP

This Gutenberg-friendly theme presents you with plenty of creative demo sites. It’s responsive and optimised for SEO. It comes with the fastest page loading time, too!
Other than that, what makes OceanWP unique is that it’s eCommerce-ready. Therefore, if you plan on running an online store, this is your theme. With it, customising the layout and design of your site is a walk in the park.
GeneratePress
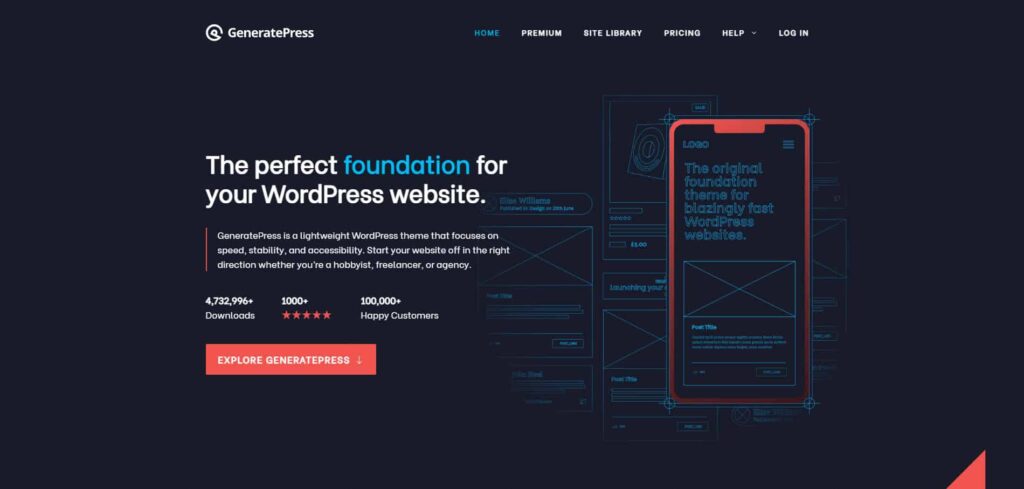
Aside from speed, this theme’s focus is usability. It features microdata integration that can help you handle your data easily. It is lightweight and responsive, too!
If you’re into using WooCommerce and other well-coded plugins, GeneratePress is an ideal choice. It’s compatible with those plugins, as well as with major page builders such as Elementor!
Best WordPress Gutenberg Plugins
Did you know that outdated plugins are among the factors that can prevent your site from running smoothly? So if you want your site to work well, you need to update your plugins and see that they’re compatible with the block editor.
You also need to get your hands on Gutenberg plugins to build an awesome site. They can help you create more dynamic pages. Especially if you don’t want to turn to premium page builders, Gutenberg plugins will come to your rescue.
There’s a sea of plugins out there. You can get started with these — they’re the best of the best!
Spectra
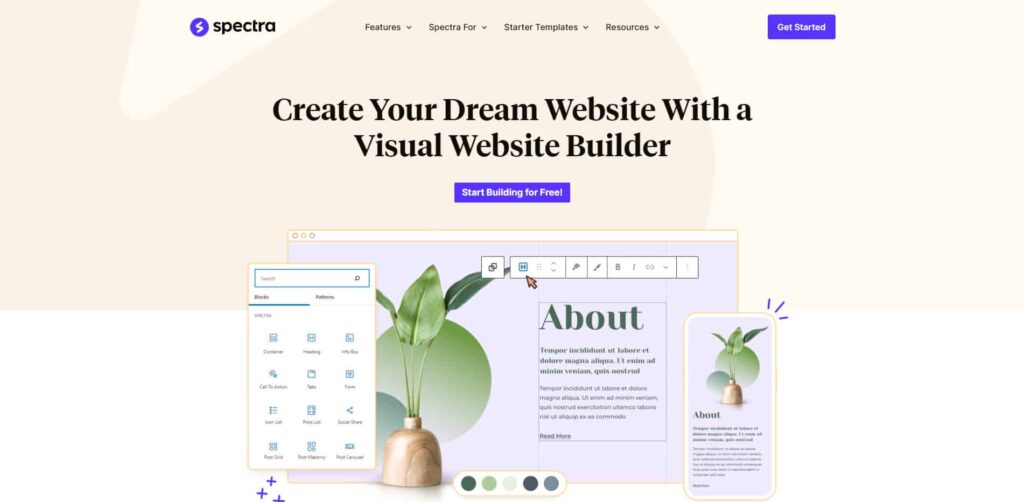
Do you want additional blocks with beautiful concepts for your page building? If so, this free plugin is what you want.
Icon Lists and Content Timeline are examples of the blocks Spectra presents you with. It also offers a block that generates a marketing button so you can put in a compelling call to action.
And if you’re about to install the Astra theme, this plugin provides built-in support.
Atomic Blocks
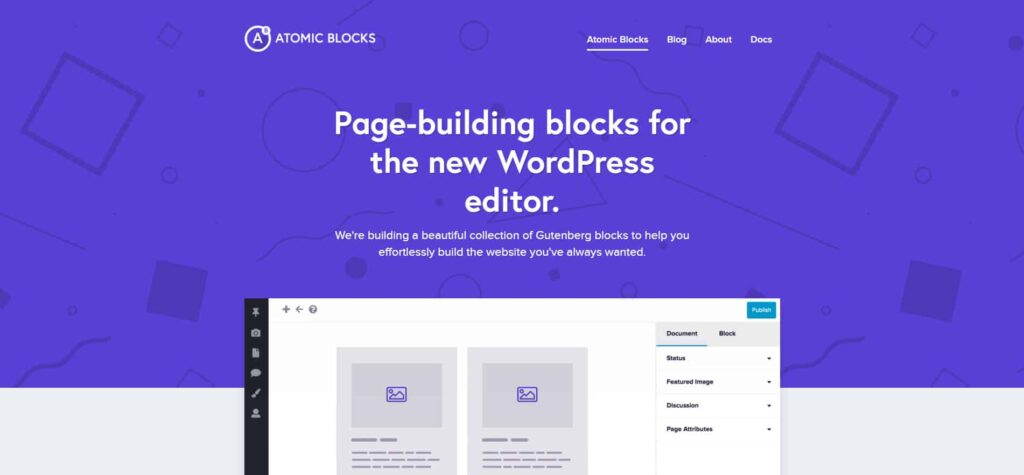
Sharing icons and a MailChimp email form can help you expand your reach. Good thing this plugin has you covered by letting you add blocks with these elements.
Atomic Blocks is also a free plugin. And aside from the notable block types mentioned above, it also features a Section and Layout block, Pricing block, and more. It has a library of more than ten useful blocks!
PublishPress Blocks
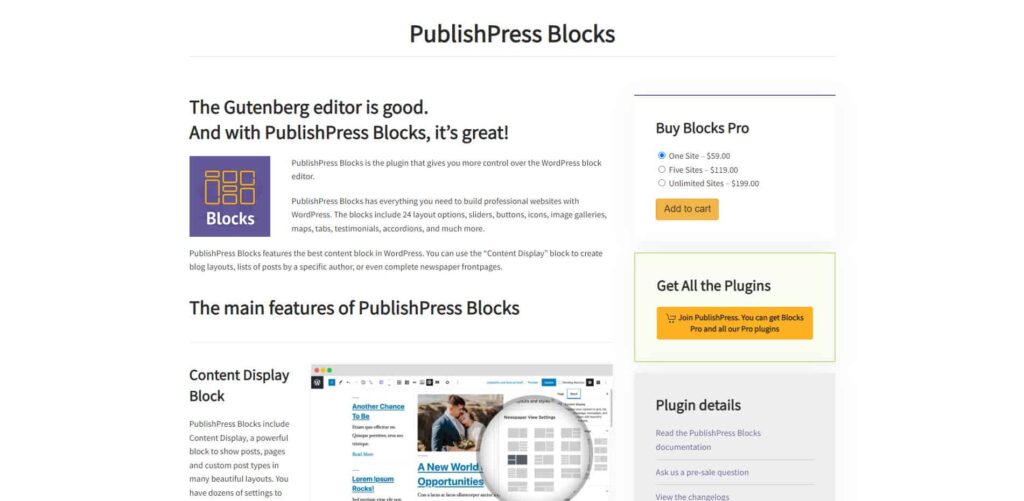
Professional pages can be yours to create fast and easily with this plugin. It comes with more than 20 additional blocks for Gutenberg.
What gives PublishPress Blocks an edge is it lets you take advantage of user roles. It comes with advanced control options that allow you to activate blocks according to your user role.
It’s also a premium plugin that costs $59 for single-site installation.
Ultimate Blocks
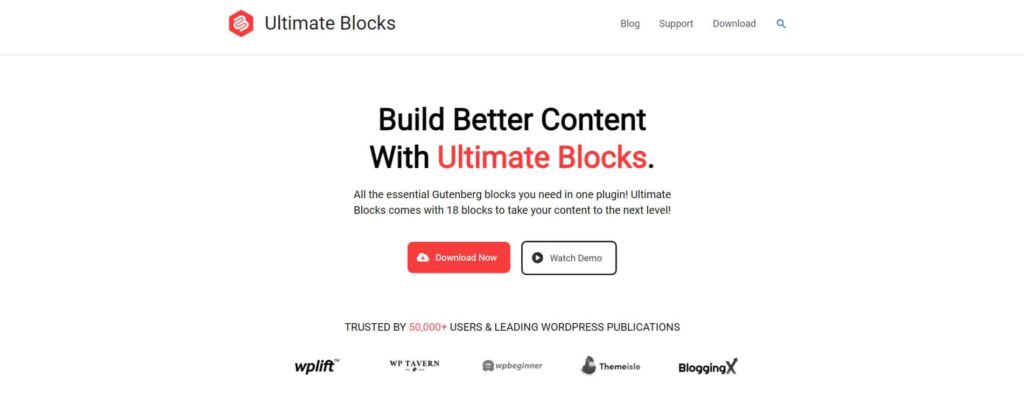
Then this plugin serves a particular user demographic: bloggers. With it, bloggers can engage more audiences with the block types they can add easily.
Ultimate Blocks features a Table of Contents block, Click to Tweet block, and more! What sets it apart from the other Gutenberg plugins is that it lets you add a Review block. And this type of block is schema-enabled.
Otter Blocks
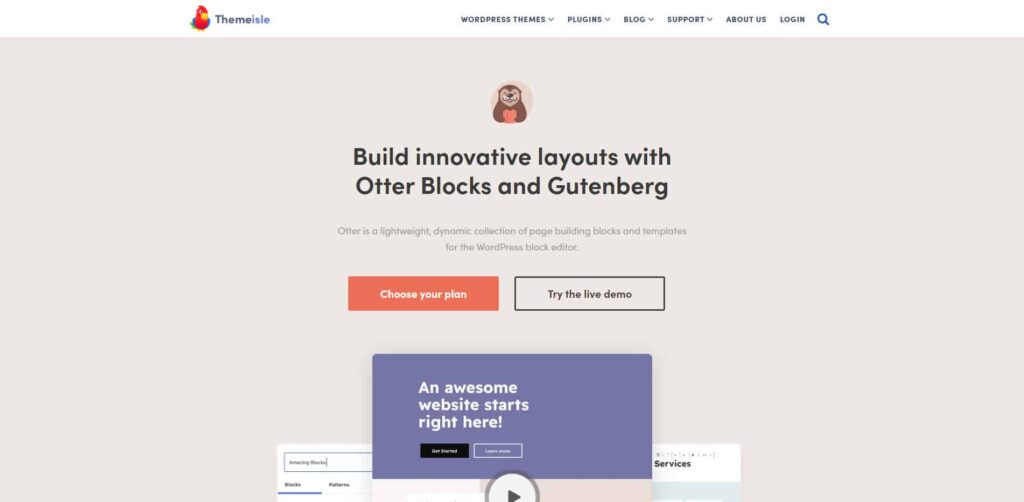
Want to add Google Maps and About Author blocks to your site? If you install this plugin, you can integrate it with other useful programs.
Otter Blocks also features a plugin card style. This design makes it highly convenient for you to choose the blocks you want.
For $39/year, you get 30+ premium blocks for a single site. For more site installations, Otter Blocks is available for $99/year (five sites) and %149 (unlimited sites).
How Do I Disable Gutenberg and Keep the Classic Editor in WordPress?
Inarguably, Gutenberg offers a modern take on content creation. With the help of this WordPress Gutenberg tutorial, you should be able to use the block editor effectively.
On the other hand, it’s your call whether you want to disregard the block editor and keep the old one.
If you choose to keep the previous WordPress editor, you’re not alone.
Many users feel it’s not yet ready. And developers are with them on this.
They think that, at its current stage, Gutenberg still needs work. For one, many themes and plugins must be redesigned and rewritten for compatibility with the block editor.
To keep the classic editor, you have a couple of options.
Use Disable Gutenberg
The first one is this. It disables the block editor automatically once it’s activated.
This free plugin can disable the block editor for user roles as well as post types.
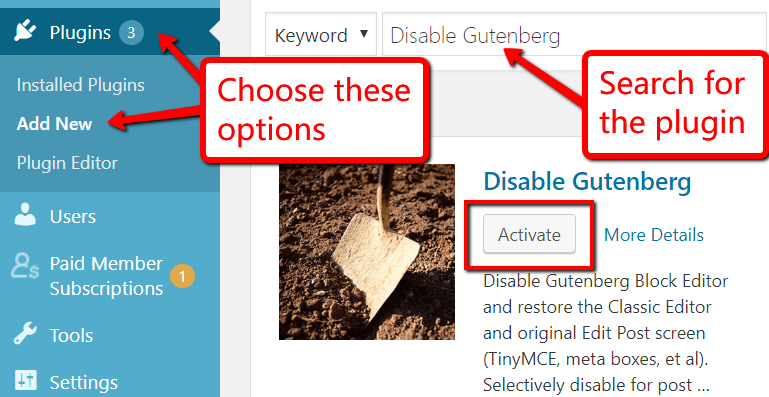
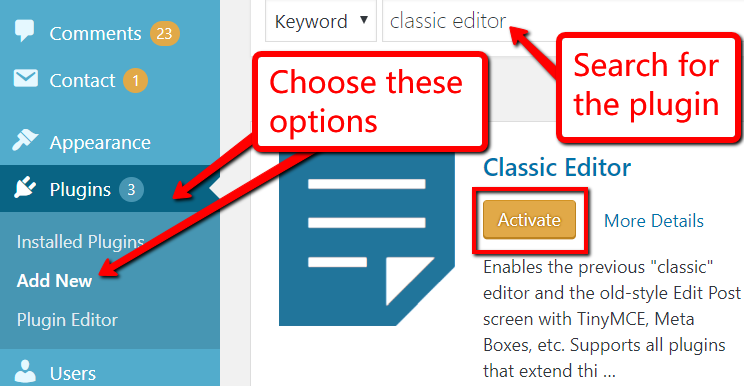
First, go to Plugins > Add New. Search for Disable Gutenberg, then install and Activate the plugin.
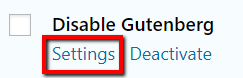
Now, go to Settings to configure the plugin’s settings.
By default, the Disable Gutenberg plugin will disable the block editor everywhere. This means it will eliminate Gutenberg and replace it with the classic editor every time you create content using your WordPress site. And this means that the change will take effect for all users.
If you have no problems with this, you should leave the settings as they are.
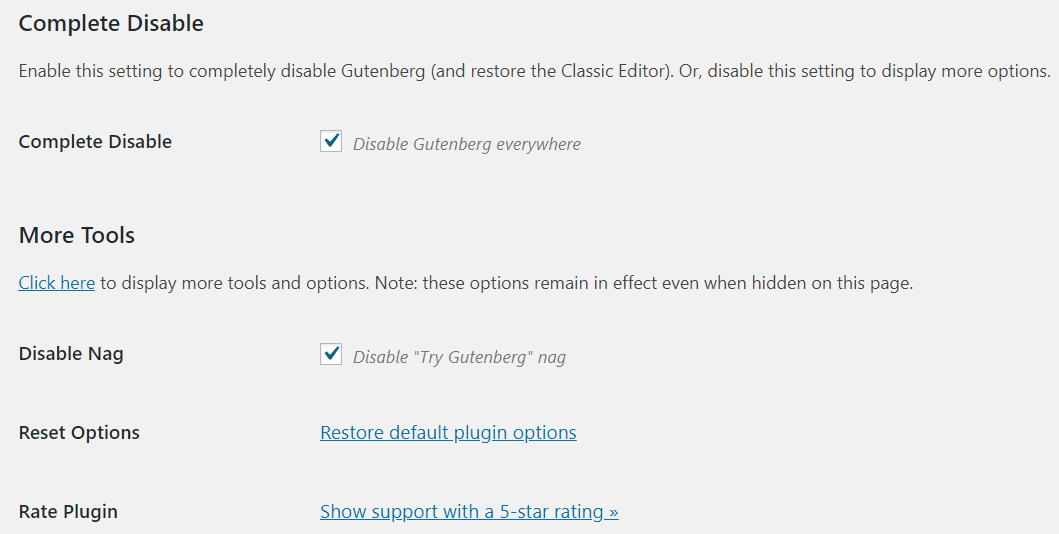
But if you do, you need to uncheck the box for Complete Disable.

Once you do this, additional options will appear. You can select certain user roles for which the block editor should be disabled.
You can disable Gutenberg for Administrator, Editor, Author accounts, and more!
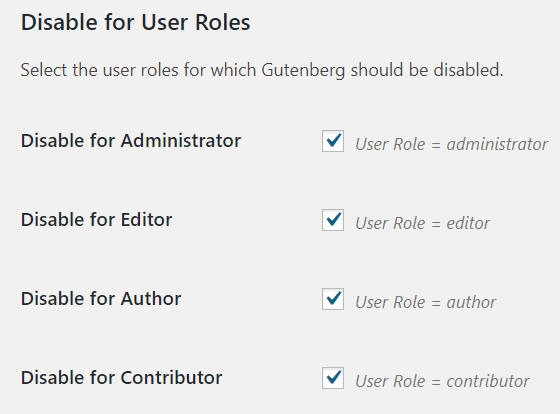
Apart from that, it also allows you to disable certain post types.
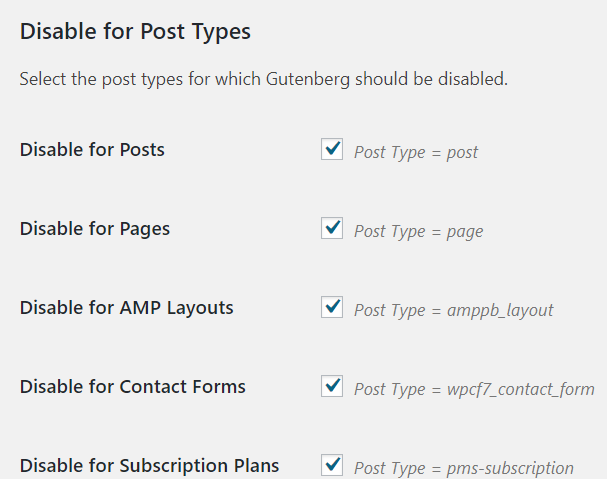
After you uncheck all the boxes that apply, finalise the change by hitting the Save Changes button at the bottom.
Use Classic Editor
Another option is this plugin. It also automatically disables Gutenberg.
Like earlier, head over to Plugins > Add New. Search for Classic Editor then install and Activate the plugin.
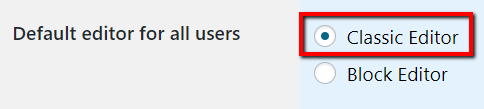
Next, go to the Settings category and load up the Writing settings.

There, look for the option where you can choose the Default editor for all users. Then be sure that the Classic Editor is selected. It’s the default selection because as mentioned, this plugin disables the block editor automatically.
If you want to use the classic editor for all users, that’s what you should go with. But if you want to give users a bit of flexibility and let them choose which editor to use, this plugin also gives you that option.
Just below it, you can make that happen. In Allow users to switch editors, simply choose Yes or No.

Conclusion
Using the WordPress Gutenberg block editor may push you out of your comfort zone at first. But if you want to improve your site and adapt to the times, the block editor is worth using.
Remember, Gutenberg’s way of creating content takes some getting used to. If you want to keep the classic editor and manage WordPress as usual, go ahead.
But know this: change is inevitable.
In fact, WordPress is now more than just a content editor. Thanks to Gutenberg and the functionalities it provides users, the platform offers a full-site editing experience. They can now create a site from the ground up even without design experience.
So, instead of resisting Gutenberg and the innovations it will continue to bring WordPress, embrace it.