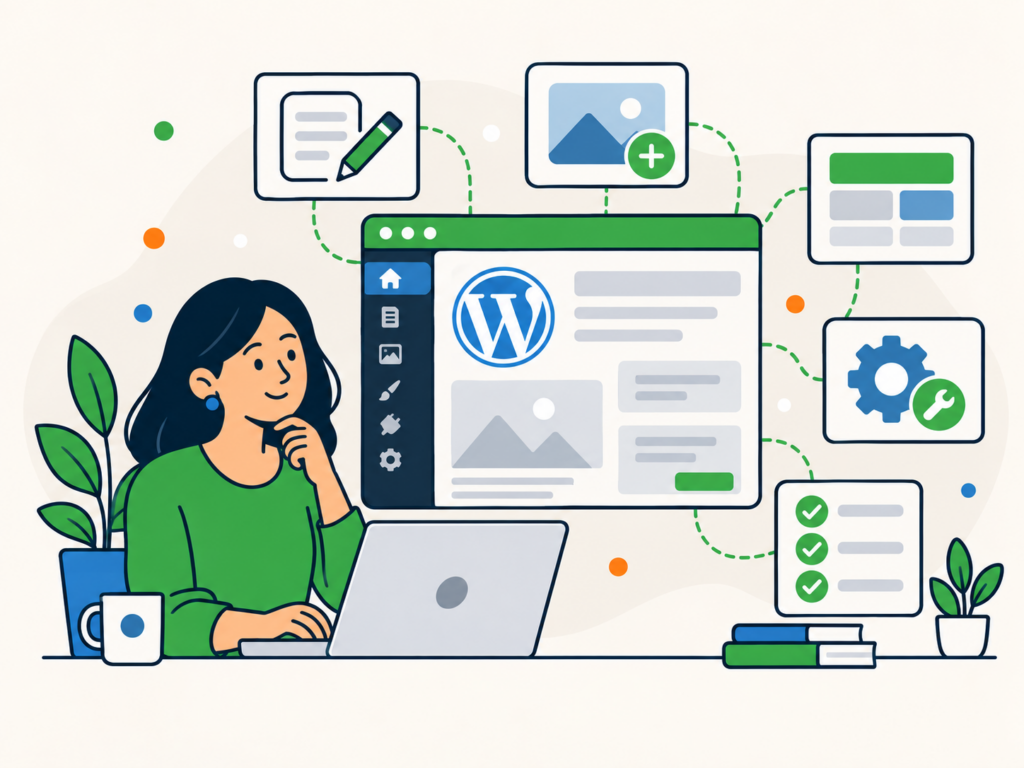
WordPress gives you a way to manage your website without needing to write code every time you want to change something.
You can update your services, add new pages, publish blog posts and manage images from the WordPress dashboard. But if you are using WordPress for the first time, knowing where to start can be confusing.
Perhaps you have just launched a website, taken over responsibility for an existing one or need to help a new team member get familiar with WordPress.
This guide will help you understand how WordPress works and introduce the everyday tasks involved in managing your website.
We’ll focus on using an existing WordPress website rather than installing WordPress or building a site from scratch. You don’t need development experience to follow along, although some changes are best left to someone familiar with your website’s setup.
1. What is WordPress and how does it work?
WordPress is a content management system (CMS). It provides an interface for creating, organising and updating website content without having to edit the underlying code for every change.
Your website is made up of several parts that work together:
- WordPress: The software used to manage your website and its content.
- Hosting: The service that stores your website’s files and database and makes the site available online.
- Themes: The part of WordPress that helps control your website’s appearance and layout.
- Plugins: Additions that extend what your website can do, such as providing contact forms or online shopping features.
- Content: Your pages, blog posts, images and other information that visitors see.
For example, if you run a small business, you might use WordPress to update your services page, publish company news or add photographs of recent work.
You can usually make these content changes without changing your theme or installing anything new.
The exact options available to you depend on how your website was built, which plugins it uses and what level of access you have.
2. How to log in to WordPress
Before you can manage your website, you need to access its administration area.
For many WordPress websites, you can open the login page by adding /wp-admin/ to the end of the website address.
For example:
https://example.com/wp-admin/
Enter your username or email address and password, then complete any additional security checks required by your website.
Once you have logged in, you will normally arrive at the WordPress dashboard.
Some websites use a different login address, single sign-on or a security service that changes the login process. If the usual address does not work, use the login instructions supplied by your website administrator or hosting provider.
What if you cannot log in?
If you have forgotten your password, look for the password-reset option on your website’s login page.
If you do not have an account, ask the person responsible for your website to create one with the access you need.
Avoid borrowing somebody else’s administrator account. Having your own account helps keep access organised and makes it easier to manage permissions when responsibilities change.
3. Getting to know the WordPress dashboard
The dashboard is where you manage your website.
Most WordPress websites have an administration menu that provides access to different areas. You do not need to understand every option immediately.
Start by becoming familiar with the sections you are likely to use.
Posts
Create and manage blog posts, news articles and other content organised as posts.
Pages
Manage content such as your About, Contact and Services pages.
Media
Upload and manage images, documents and other files.
Comments
Review and moderate comments if your website allows visitors to leave them.
Appearance
Access theme and design-related settings. The available options depend on your theme and website configuration.
Plugins
View and manage additional website functionality, if your account has permission.
Users
Manage accounts and permissions, where your role allows it.
Settings
Access options that affect how WordPress behaves. Some settings can have consequences for the wider website, so avoid changing anything you do not understand.
You may also see additional sections added by plugins or your website developer. For example, an online shop might have its own orders and products areas.
Why does your dashboard look different?
Not every WordPress website has the same administration interface.
Your theme, plugins, user role and any customisations made by your developer can change which menus and editing options appear.
For example, someone responsible only for writing blog posts may not have access to plugins or site-wide settings.
If a menu mentioned in this guide is missing, it does not necessarily mean something is wrong with your website.
4. Understanding posts and pages
Posts and pages are two of the main ways to publish content in WordPress.
They can look similar when you edit them, but they serve different purposes.
What is a WordPress page?
Pages are generally used for content that forms part of your website’s main structure.
Examples include:
- About Us
- Services
- Contact
- Privacy Policy
Pages can be updated whenever the information changes. They are not normally organised by publication date in the same way as blog posts.
For example, if your business changes its opening hours, you might update your Contact page rather than publish a new blog post.
What is a WordPress post?
Posts are typically used for blog articles, news and other content published over time.
Depending on your website’s setup, posts may appear in date order on a blog or news page.
For example, you might publish a post announcing a new service, explaining a common customer question or sharing an update about your business.
What are categories and tags?
Categories and tags help organise posts.
A category groups posts into broader subjects. On a website about WordPress, you might have categories for Maintenance, Security and Performance.
Tags can describe more specific topics that appear across different categories, although you do not need to use tags if they do not help organise your content.
For example, a post about improving WooCommerce loading times might belong to a Performance category and use a WooCommerce tag.
Avoid creating a new category or tag for every post. A smaller, consistent set is easier for readers to navigate and for your team to maintain.
By default, WordPress pages do not use the same categories and tags as posts, although plugins and custom configurations can change this.
5. How to create and edit website content
Once you understand the difference between posts and pages, you can start making everyday content changes.
The following process covers the usual workflow. Your website may use a customised editor or additional approval steps.
Editing an existing page
Suppose you need to update the description of a service your business provides.
- Open Pages in your dashboard.
- Find the page you want to change and open it for editing.
- Locate the relevant content and make your changes.
- Use the available preview option to check how the page looks.
- When you are satisfied, save or update the page using your website’s editing workflow.
- Visit the public page to confirm that the intended changes appear correctly.
Remember that updating an already published page normally changes the live content. A preview is not a substitute for a separate staging environment when testing significant changes.
For a small wording correction, editing the page directly may be appropriate. For a substantial redesign or a change affecting important website functionality, arrange for the work to be tested first.
Creating a new post or page
To create content, open Posts or Pages and choose Add New, provided your account has permission.
Add a clear title and create your content in the editor.
WordPress includes a block editor that allows you to work with individual elements, such as paragraphs, headings, images and buttons.
Rather than writing code to insert an image, you can add an Image block and select a file from your Media Library.
Some websites use the Classic Editor, a page builder or custom editing fields instead. Follow the workflow provided for your particular website.
For a more detailed walkthrough of the standard block editor, see our WordPress block editor tutorial.
Saving, previewing and publishing
Before making content public, check that it is ready.
A draft allows you to work on unpublished content without making it publicly available. Depending on your permissions, you may also be able to submit a post for review or schedule it for publication later.
Use the preview feature to review your content before publishing.
Check the wording, headings, links and images. If possible, check how the page looks on a mobile device as well as a desktop.
When you publish a new post or page, it becomes available according to its visibility and publication settings.
If you are updating an existing page, take particular care with its URL. Changing a published URL can affect links from other pages and external websites.
A few useful content habits
Use descriptive titles and organise longer content with meaningful headings.
Include links where they help readers find related information, and check that those links lead to the intended destinations.
Before changing an existing page, make sure you understand its purpose. A page may contain important information, forms or elements that are used elsewhere on the website.
If you are unsure whether a change affects more than the content you are editing, ask your website administrator before saving it.
6. Managing images and other media
The WordPress Media Library stores many of the images, documents and other files uploaded to your website.
You can usually access it through Media in the dashboard or while editing a post or page.
When you add an image to your content, you can upload a new file or choose one that is already in the library.
Using an existing image can be helpful when the same photograph or graphic appears in several places.
Choose suitable image files
Use images that are relevant to the content and clear enough for their intended display size.
Avoid uploading unnecessarily large files. Oversized images can increase the amount of data visitors need to download, although the impact depends on how your website processes and delivers them.
Where appropriate, resize and compress images before uploading them, or follow the image-handling process already established for your website.
Use descriptive filenames so your team can recognise files more easily.
Add appropriate alternative text
Alternative text, often called alt text, describes an image’s relevant content or purpose for people who cannot see it.
For example, a photograph showing a team member repairing a laptop might have the alt text:
"Technician repairing a laptop at a workbench."
The description should suit the image’s purpose in that particular context. Images that are purely decorative generally need empty alt text rather than an unnecessary description.
Avoid adding keywords simply to fill the field.
Be careful when deleting media
Removing an image from a page does not necessarily delete it from the Media Library.
That is useful because the same file may be used in several locations.
Before permanently deleting a media file, check whether it is still needed elsewhere on the website.
For example, an image might appear in a blog post, on a service page and in an email linking directly to the file. Deleting it could affect all three uses.
If you are unsure whether a file is still needed, leave it in place until you can confirm.
7. Managing your website’s appearance and navigation
WordPress themes help control how your website looks, including aspects of its layout, typography and overall design.
Depending on your theme, you may be able to adjust some of these settings yourself.
However, changing the design of an established business website is different from editing a paragraph of text.
A theme change can affect layouts, navigation and functionality, so it should not be treated as a routine content update.
Block themes and classic themes
WordPress supports different theme types, and this affects how you manage your website’s appearance.
With a block theme, the Site Editor is generally available through Appearance > Editor for users with the appropriate permissions. It provides tools for managing site-wide elements such as templates, styles and navigation.
With a classic theme, you may instead have access to a Customizer, Menus, Widgets or theme-specific settings.
A developer may also have built a custom interface for your website.
You do not need to switch themes to follow this guide. The important thing is understanding which editing tools your existing website uses.
Updating your website’s navigation
Navigation helps visitors find their way around your website.
You might need to add a new service page to your main menu, update a link or change the order of menu items.
On a block-theme website, navigation can be managed through the Site Editor, typically under Appearance > Editor > Navigation.
On a classic-theme website, you may have an Appearance > Menus screen or another theme-specific interface.
Before changing navigation, check which menu you are editing. Your website may have separate menus for its header, footer or other areas.
After saving a change, visit the public website and check that the menu works as expected, including on mobile.
Remember that publishing a page and adding it to a menu are not always the same action.
8. Understanding users and permissions
If several people help manage your website, they do not necessarily need access to everything in WordPress.
WordPress uses user roles and capabilities to control what people can do.
For example, an administrator generally has broad access to the website, while an author or editor has a different set of content-related permissions.
The exact permissions depend on your WordPress installation. Plugins, custom roles and multisite configurations can change the standard setup.
The aim is to give people the access they need for their work without granting unnecessary control over the rest of the website.
Give each person their own account
If a team member needs to write blog posts, they should normally have their own WordPress account rather than share someone else’s login.
Individual accounts make it easier to manage responsibilities and remove access when someone leaves.
They also help you identify which account made a change, although the detail available depends on your website’s logging and revision tools.
Avoid granting administrator access simply because somebody needs to edit a page.
If you manage user accounts, review access when responsibilities change and remove access that is no longer needed.
For a website with several contributors, establish who can create content, who can review it and who is responsible for publishing it.
9. Important WordPress settings and plugins
WordPress includes settings that affect how your website operates.
You may find options relating to your site title, reading preferences, comments, media and permalinks under Settings, depending on your permissions and configuration.
You do not need to change these settings simply because they are available.
For example, the permalink settings control the structure of certain website URLs. Changing that structure on an established website can disrupt existing links unless the change is carefully planned.
Similarly, reading settings can affect which page appears as your homepage and how blog content is displayed.
If your website is already working as intended, check with the person responsible for its setup before changing site-wide settings.
What do WordPress plugins do?
Plugins add functionality to WordPress.
A plugin might provide a contact form, connect your website to another service or add features for an online shop.
Some websites use only a small number of plugins. Others rely on a more extensive collection to support their functionality.
The number alone does not tell you whether a website is well managed.
What matters is whether each plugin is needed, maintained, compatible with the website and appropriate for its purpose.
Installing a plugin can introduce new settings, affect existing functionality or create an additional maintenance responsibility.
Before adding one, check whether your website already provides the feature you need.
If a developer or support provider manages your website, ask them to review proposed plugin changes rather than installing something simply to experiment on the live site.
10. Keeping your WordPress website running smoothly
Creating and editing content is only one part of looking after a WordPress website.
WordPress itself, its themes and plugins also need ongoing attention.
Updates can provide fixes, security improvements and new functionality. They can occasionally introduce compatibility problems, particularly on websites with custom development or several interconnected plugins.
That is why it is important to understand who is responsible for updates and how problems can be resolved if something goes wrong.
Make sure your website has reliable backups
A backup provides a way to recover your website if files, content or other important data are lost or damaged.
A useful backup needs to cover the website components required for recovery, including its database and relevant files.
It should also be possible to restore it successfully.
Before making significant changes, check that a recent, suitable backup is available and that you know who can restore it if necessary.
Test changes before applying them to the live website
A staging website provides a separate environment where changes can be tested before they affect visitors.
It can be particularly useful for plugin updates, theme changes and significant alterations to website functionality.
Not every website has a staging environment, and not every small content change requires one.
The important thing is to match your testing process to the potential impact of the change.
For ongoing tasks, our WordPress maintenance checklist explains what to review and how to establish a regular maintenance routine.
Know when to ask for help
You do not need to resolve every WordPress issue yourself.
If you cannot log in, an important page stops working or you are unsure how a change will affect your website, avoid making additional changes without understanding the problem.
Start by recording what happened, which page or feature is affected and any error message you can see.
Then contact the person responsible for your website or seek appropriate WordPress support.
Our guide to what to do when you need WordPress support explains how to identify the next step and provide useful information when requesting help.
What should you do next?
The easiest way to become familiar with WordPress is to start with a small, practical task.
Open your dashboard and find a page you already know. Look at how its content is organised and identify where you would make a simple text change.
If you have permission to edit it, choose a low-risk update, preview the result and check the live page after saving.
Once you are comfortable with that process, explore creating a draft blog post, adding an image or organising your existing content.
You do not need to learn every WordPress feature at once. Understanding the tools you use regularly, knowing which changes need more care and having a reliable way to get help will make managing your website much more straightforward.