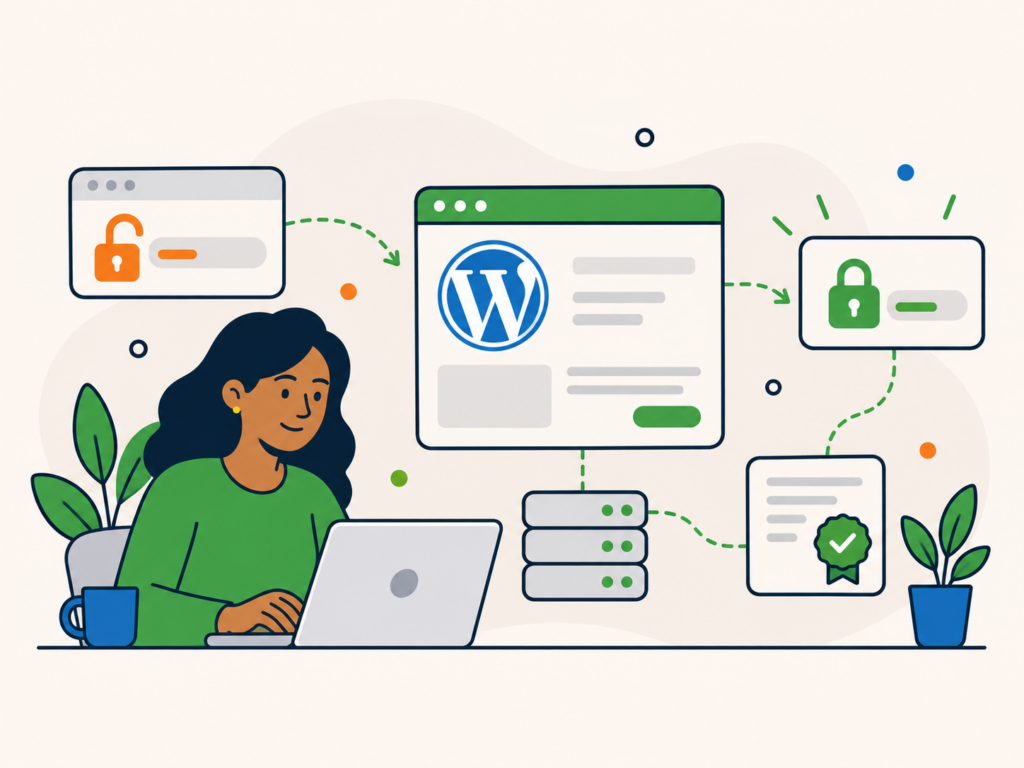
Adding HTTPS to WordPress involves more than installing a certificate and changing a setting.
The certificate needs to be valid for your domain, the web server or proxy needs to serve the site securely, WordPress needs to use HTTPS URLs, old HTTP requests should redirect correctly, and the site needs to stop loading insecure resources.
For most modern WordPress websites, the certificate itself is often the easy part. Many hosting providers issue and renew certificates automatically.
The important part is making sure the whole website is using HTTPS correctly from the visitor through to WordPress and, where applicable, through a CDN or reverse proxy to the origin server.
What are SSL, TLS and HTTPS?
The terms SSL, TLS and HTTPS are often used together, but they do not mean exactly the same thing.
SSL stands for Secure Sockets Layer. It is the older technology that originally provided encrypted connections on the web.
Modern secure connections use TLS, or Transport Layer Security, which replaced SSL.
Despite that, people still commonly use phrases such as “SSL certificate” when referring to the certificate used for a modern TLS connection.
HTTPS is HTTP delivered over an encrypted TLS connection.
When a visitor opens an HTTPS website, their browser checks the certificate presented for the domain and establishes an encrypted connection.
This helps protect information travelling between the browser and the website from being read or altered in transit.
Does a WordPress website need HTTPS?
Yes. A normal public WordPress website should now be using HTTPS.
HTTPS protects information sent between visitors and the website, including data such as:
- login credentials
- contact-form submissions
- account information
- checkout details
- cookies and session data sent over the encrypted connection
- other information transmitted between the browser and server
Browsers also expect modern websites to use secure connections, and many web features and third-party services assume HTTPS is available.
WordPress itself checks whether a website is using HTTPS as part of Site Health.
HTTPS is also the version of the site you generally want search engines to index and treat as canonical.
However, HTTPS should not be confused with complete website security.
An SSL certificate does not patch vulnerable plugins, remove malware, stop weak passwords being used or make an outdated WordPress installation secure.
It protects the connection.
The rest of the website still needs to be maintained and protected properly.
Check whether your hosting already provides SSL
Before buying or manually installing anything, check what your hosting provider already includes.
Many modern WordPress hosts provide SSL certificates automatically, often using an automated certificate authority such as Let’s Encrypt.
Look in the hosting control panel for options labelled something like:
- SSL
- TLS
- HTTPS
- certificates
- Let’s Encrypt
- domains
- security
Check that the certificate covers the hostname people actually use.
For example, if the website should work on both:
example.com
and:
www.example.com
make sure the required names are covered by the certificate or that one hostname redirects cleanly to the other.
You should also confirm that certificate renewal is automatic.
For many website owners, enabling the host’s managed SSL option is preferable to manually purchasing, installing and renewing certificates.
Install or enable the certificate
If the hosting provider already offers managed SSL, follow its normal process for enabling HTTPS on the domain.
The host may issue the certificate immediately or complete a domain-validation step first.
Other setups might use:
- an ACME-compatible certificate authority
- a commercial certificate authority
- a certificate managed by a CDN or reverse proxy
- a certificate installed directly on a self-managed server
The exact installation process depends on where TLS is terminated.
On managed hosting, this may simply involve clicking an SSL or HTTPS option.
On a server you manage yourself, certificate installation and renewal may be handled by software such as an ACME client.
The important result is the same: the server or service receiving HTTPS connections must have a valid certificate for the hostname being requested.
Confirm HTTPS works before changing WordPress
Before changing WordPress itself, confirm that the secure version of the website actually works.
Open:
https://example.com
using the site’s real domain.
Check that:
- the page loads
- the browser does not report a certificate error
- the certificate matches the hostname
- the certificate is currently valid
- the expected website appears
Do this before changing WordPress Address or Site Address.
If WordPress is switched to HTTPS before the server or proxy can serve HTTPS properly, you can make the site or administration area difficult to access.
Get the secure connection working first, then migrate WordPress to use it consistently.
Update WordPress to use HTTPS
Before changing WordPress URLs or making database-wide replacements, take a current backup of the site and database so you have a recovery point if something goes wrong.
Once HTTPS works correctly, WordPress should use HTTPS for both its main URL settings.
In WordPress, these are normally:
- WordPress Address (URL)
- Site Address (URL)
You can find them under Settings → General on installations where the values are editable there.
Both should normally use the secure form of the domain, such as:
https://example.com
WordPress considers a site to be using HTTPS when both the home URL and site URL use HTTPS.
Depending on the installation, WordPress Site Health may also detect that HTTPS is available and provide information about migrating the site.
After changing the URLs, log back into the administration area if required and check both the frontend and dashboard.
Redirect HTTP traffic to HTTPS
Changing the WordPress URLs does not necessarily mean every old HTTP request will automatically redirect correctly.
Someone may still visit:
http://example.com/about/
The preferred result is a permanent redirect to:
https://example.com/about/
This matters for visitors, search engines and old links that still point to the HTTP version.
Where you configure the redirect depends on the hosting setup.
It might be handled by:
- the hosting control panel
- Nginx or Apache
- a reverse proxy
- a CDN
- another edge service
Avoid setting up several competing HTTPS redirects in different places unless there is a clear reason.
Multiple layers trying to force HTTPS can create confusing redirect chains or loops.
After enabling the redirect, test several URLs rather than checking only the homepage.
What if you use Cloudflare or another CDN?
A reverse proxy or CDN adds another connection to consider.
With a service such as Cloudflare, traffic typically follows this path:
visitor → Cloudflare → origin server
That means HTTPS can exist on both parts of the journey.
The visitor needs a secure connection to Cloudflare, and the connection from Cloudflare to the origin should also be protected appropriately.
For a normal WordPress setup using Cloudflare, Full (strict) is usually the preferred SSL/TLS mode when the origin has a valid certificate.
Full (strict) encrypts the connection to the origin and validates the certificate presented there.
By contrast, Cloudflare’s Flexible mode uses HTTPS between the visitor and Cloudflare but HTTP between Cloudflare and the origin.
That is not normally the setup you want for a WordPress site that can support HTTPS at the origin.
Flexible mode can also cause redirect loops when the origin itself redirects HTTP traffic to HTTPS.
If you use another CDN or reverse proxy, the terminology may differ, but the principle remains the same.
Aim for a secure connection all the way to the server handling the website rather than protecting only the visitor-facing part.
Fix mixed content after moving to HTTPS
One of the most common problems after an HTTPS migration is mixed content.
Mixed content occurs when the page itself loads over HTTPS but still requests some resources using HTTP.
Those resources might include:
- images
- stylesheets
- JavaScript
- fonts
- video or audio
- iframe content
- plugin assets
- third-party resources
Browsers may upgrade some insecure requests automatically and block others, but the underlying HTTP references should still be corrected.
Possible sources include:
- old URLs stored in the WordPress database
- hard-coded theme files
- plugin settings
- page-builder content
- CSS files
- widgets
- embeds
- manually entered media URLs
Do not blindly replace every occurrence of http:// without understanding what you are changing.
Some URLs may point to external services that require separate investigation, and database replacements need to account for how WordPress stores structured or serialized data.
Our guide to resolving mixed content warnings in WordPress covers this issue in more detail.
Check your internal URLs and SEO signals
Once the website has moved to HTTPS, check that its own output consistently reflects the secure version.
Review important signals such as:
- internal links
- canonical URLs
- XML sitemap URLs
- image and media URLs
- Open Graph URLs where relevant
- structured data URLs
- alternate-language URLs if used
The aim is to avoid telling search engines that both HTTP and HTTPS versions should be treated independently.
Your HTTP URLs should redirect to HTTPS, while canonical and sitemap output should point directly to the HTTPS versions.
If you use an SEO plugin, clear any relevant caches and check the actual rendered page source rather than assuming the settings have updated correctly.
Make sure certificate renewal is automatic
Installing a certificate is not the end of the job.
Certificates expire.
If an active website starts presenting an expired certificate, browsers can display a security warning and visitors may be unable or unwilling to continue.
Modern certificate management is therefore designed around automation.
If your hosting provider manages the certificate, confirm that automatic renewal is included.
If you manage certificates yourself, make sure:
- renewal runs automatically
- the renewal process has permission to complete its validation
- the new certificate is actually loaded by the web server or proxy
- failures generate an alert
- the process is tested rather than simply assumed to work
Certificate lifetimes are becoming shorter across the industry, making reliable automation more important.
Manual calendar reminders should not be the main renewal strategy for a business website when automated renewal is available.
Should you enable HSTS?
HTTP Strict Transport Security, usually called HSTS, tells supporting browsers to use HTTPS for future requests to that host.
It can strengthen an established HTTPS setup by reducing the opportunity for browsers to attempt insecure HTTP connections.
However, HSTS should be treated as an advanced step rather than something to enable casually during the initial migration.
Before enabling a long HSTS policy, make sure:
- HTTPS works reliably
- HTTP redirects correctly
- certificate renewal is dependable
- all required parts of the site support HTTPS
- you understand which subdomains need to be covered
Options such as includeSubDomains have wider consequences because they can apply the HTTPS requirement to every relevant subdomain.
Without includeSubDomains, the policy applies to the host that sent the HSTS header rather than automatically covering every subdomain.
Get the HTTPS migration stable first.
Then consider HSTS as an additional hardening measure.
Why am I getting too many redirects?
An HTTPS redirect loop usually means two parts of the setup disagree about how the request should be handled.
Common causes include:
- WordPress forcing HTTPS while another layer redirects back differently
- the web server and CDN both applying conflicting redirects
- incorrect proxy HTTPS detection
- Cloudflare Flexible mode combined with an origin that forces HTTPS
- old redirect rules left behind from a previous configuration
Start by identifying every layer involved in the request:
- browser
- CDN or proxy
- web server
- WordPress
Then determine where HTTPS is being detected and where redirects are being created.
Avoid fixing a redirect loop by adding another redirect rule without understanding the existing ones.
That often makes the problem harder to diagnose.
Why does WordPress keep redirecting or logging me out after enabling HTTPS?
Login and dashboard problems after an HTTPS migration often point to inconsistent URL or proxy configuration.
Check that:
- WordPress Address uses HTTPS
- Site Address uses HTTPS
- the browser is actually reaching the site over HTTPS
- the server recognises the request as HTTPS
- the reverse proxy is passing the correct scheme information
- there are no conflicting redirect rules
- old HTTP cookies or cached redirects are not confusing the test
When a proxy terminates TLS before the request reaches WordPress, the origin still needs enough information to understand that the original visitor connection was secure.
If that detection is wrong, WordPress can repeatedly try to correct the scheme and create login or redirect problems.
Why is the certificate valid through a CDN but broken at the origin?
A CDN or reverse proxy can present its own certificate to visitors.
That can make the public site appear healthy even while the certificate at the origin is expired, mismatched or incorrectly configured.
This matters if the CDN expects a secure origin connection.
It also becomes important if you:
- change the CDN configuration
- bypass the proxy
- move providers
- enable strict certificate validation
- connect directly to the origin for testing
Where a proxy sits in front of WordPress, check both sides of the TLS setup rather than looking only at the certificate presented to public visitors.
Why is the old certificate still being served after renewal?
Sometimes renewal succeeds but the website continues presenting the previous certificate.
Possible reasons include:
- the web server has not reloaded the renewed certificate
- the certificate was renewed in a different location
- a CDN or load balancer is serving its own certificate
- the wrong virtual host or domain configuration is active
- an intermediate proxy still has the previous configuration
First establish which system is actually terminating the visitor’s TLS connection.
That is the certificate you need to inspect.
On a simple hosting setup this may be the web server itself.
On a more complex setup it may be a CDN, reverse proxy or load balancer in front of WordPress.
How do you check that the HTTPS migration is complete?
Before considering the work finished, check the site from end to end.
A good final checklist is:
- HTTPS loads without a certificate warning
- the certificate covers the correct hostname
- HTTP URLs permanently redirect to their HTTPS equivalents
- WordPress Address uses HTTPS
- Site Address uses HTTPS
- important pages work correctly
- the WordPress login and dashboard work
- forms and checkout processes work
- there is no unresolved mixed content
- canonical URLs use HTTPS
- the XML sitemap uses HTTPS
- internal links use HTTPS
- CDN or proxy connections to the origin are configured correctly
- certificate renewal is automatic and monitored
Also test the website while logged out.
Administrators can sometimes see a slightly different result because of cookies, caching or logged-in behaviour.
Does HTTPS make WordPress secure?
HTTPS is an important part of WordPress security, but it solves one specific problem.
It protects information travelling between the visitor and the website.
It does not replace:
- WordPress updates
- plugin and theme updates
- strong, unique passwords
- MFA
- controlled administrator access
- malware monitoring
- backups
- firewall or WAF protection
- secure hosting
- incident planning
Our guide to WordPress security best practices explains how these different layers work together.
A properly configured HTTPS setup protects the connection to your website.
Keeping WordPress itself secure still requires the rest of those controls.