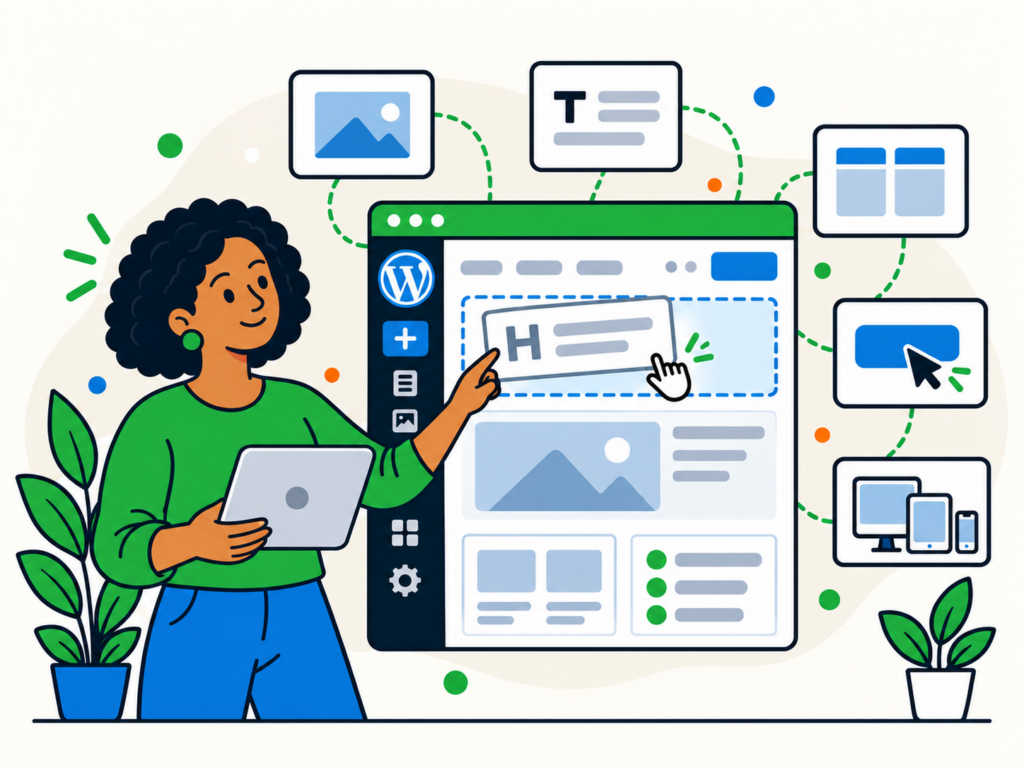
The WordPress Block Editor gives you a visual way to create and edit posts and pages using individual pieces of content called blocks.
A paragraph is a block. An image is a block. Headings, lists, buttons, galleries and videos can all be added as blocks too.
This makes it easier to build structured content without working directly with HTML or relying on a separate page builder for everyday editing.
If you are new to WordPress, the editor can look busy at first. Once you understand how blocks work and where the main controls are, creating content becomes much more straightforward.
In this guide, you will learn how to use the WordPress Block Editor to add content, format blocks, move sections around, work with images and patterns, preview your changes and publish with confidence.
What Is the WordPress Block Editor?
The WordPress Block Editor is the standard editing interface used for creating and managing the content inside posts and pages.
You may also hear it called the Gutenberg editor, but WordPress now generally refers to it as the Block Editor.
Instead of placing all your content inside one large editing area, WordPress separates different types of content into blocks.
Common blocks include:
- Paragraph
- Heading
- Image
- List
- Quote
- Button
- Gallery
- Video
- Columns
- Cover
Each block can have its own content, settings and formatting.
This means you can change one part of a page without affecting everything around it.
If you are still learning the wider WordPress dashboard, our beginner’s guide to managing a WordPress website covers the other areas you are likely to use.
How to Open the Block Editor
You normally open the Block Editor when creating or editing a post or page.
For a new blog post, go to:
Posts > Add New
For a new page, go to:
Pages > Add New
You can also open an existing post or page from its relevant section in the WordPress dashboard.
The exact appearance of the editor can vary slightly depending on your WordPress version, theme and installed plugins, but the basic editing process remains similar.
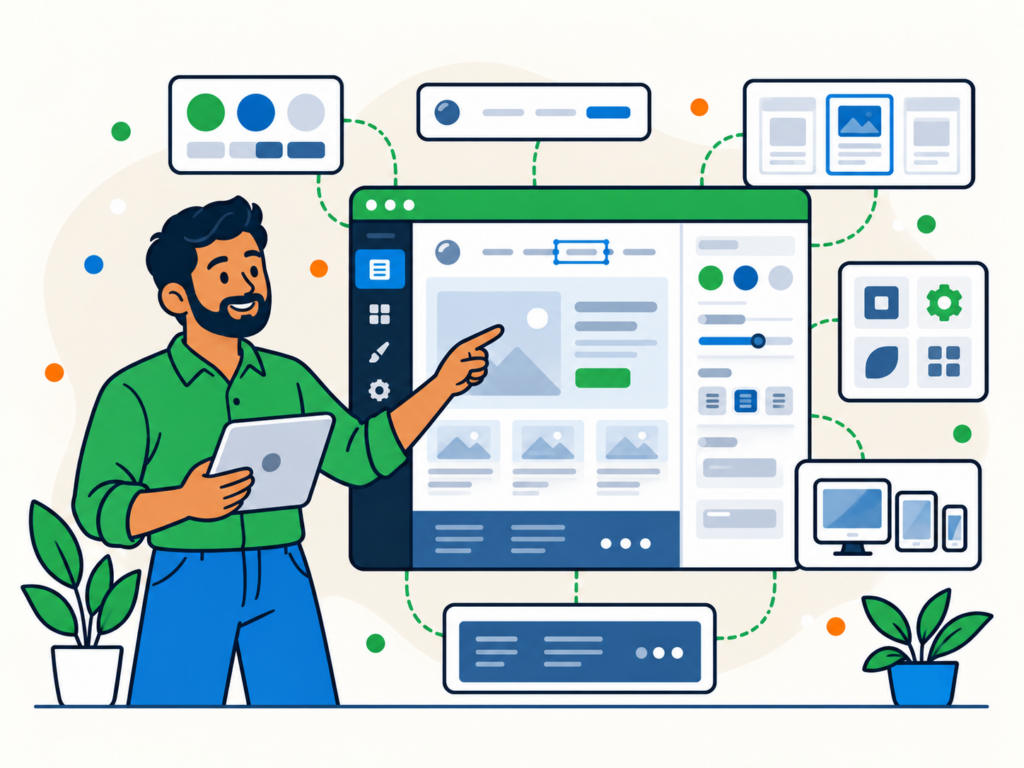
Understanding the Block Editor Workspace
The Block Editor is easier to use once you understand its main areas.
The Content Area
The main part of the screen is where you create your page or post.
This is where you type text, add images and arrange blocks.
Clicking a block selects it and gives you access to controls for that particular block.
The Top Toolbar
The toolbar across the top of the editor contains useful controls for tasks such as:
- adding blocks
- undoing or redoing changes
- opening the document overview
- previewing the content
- saving or publishing
- opening additional editor options
You will not need every tool immediately. Most beginners can work comfortably with only a few of them.
The Settings Sidebar
The settings sidebar normally appears on the right-hand side of the editor.
Depending on what you have selected, it can show settings for the whole post or page, or settings for an individual block.
This distinction is important.
If you select a Paragraph block, for example, you may see typography, colour or spacing options related to that paragraph.
If you switch back to the post or page settings, you may instead see options such as the featured image, categories, visibility or publishing settings.
How to Add a Block
There are several ways to add blocks.
One of the easiest is to select the + Block Inserter.
You can then browse or search for the type of block you want.
For example, search for Image if you want to add an image or Heading if you want to create a new heading.
You can also add blocks directly while writing.
Type:
/
Then begin typing the name of the block.
For example:
/image
or:
/heading
Select the block you want from the suggestions.
The slash shortcut can be much faster than opening the full inserter every time.
Start with Paragraphs and Headings
Most posts and pages are mainly made from Paragraph and Heading blocks.
When you start typing in an empty area, WordPress will normally create a Paragraph block automatically.
Use Paragraph blocks for your normal body text.
Use Heading blocks to divide longer content into clear sections.
A sensible heading structure also makes your content easier to scan.
For most pages and posts:
- use Heading 2 for your main sections
- use Heading 3 for subsections within those sections
- avoid choosing heading levels simply because you prefer how they look
Your page title will normally already serve as the main Heading 1, so you usually do not need to add another H1 inside the content.
How to Select and Edit a Block
Click a block to select it.
When selected, WordPress normally shows a toolbar close to the block along with additional options in the settings sidebar.
The available controls depend on the type of block.
For a Paragraph block, you might see options for:
- bold text
- italic text
- links
- alignment
- text formatting
An Image block will have different options relating to the image.
A Heading block will include controls relevant to headings.
If you cannot find a setting, check both the block toolbar and the settings sidebar.
How to Move Blocks Around
One of the advantages of the Block Editor is that content does not have to stay where you first placed it.
Select a block and you can move it to a different position.
Depending on the block and editor view, you may be able to use movement controls, drag the block, or rearrange it through List View.
This is useful when you decide that a paragraph, image or entire section belongs somewhere else.
You can also select several blocks together when you need to move or manage a larger section.
Use List View to Understand Complex Pages
Simple blog posts may contain only a small number of straightforward blocks.
Longer pages can become more difficult to navigate, especially when blocks are nested inside Groups, Columns or other container blocks.
This is where List View becomes useful.
Open the document overview from the top toolbar to see the structure of the blocks on the page.
You can then use the list to:
- find a particular block
- see which blocks sit inside other blocks
- select blocks that are difficult to click directly
- move blocks into a different order
- understand the structure of a more complicated layout
If a page starts feeling difficult to manage visually, List View is often the quickest way to understand what is going on.
How to Add Images
To add a single image, insert an Image block.
You can then usually:
- upload a new image
- choose an existing image from the Media Library
- use another available image source provided by your setup
Once the image is in place, select the block to access its settings.
Depending on your theme and WordPress setup, these can include options for size, aspect ratio, alignment and other presentation settings.
You should also give meaningful images suitable alternative text.
Alt text helps describe an image when it cannot be seen and can improve accessibility for people using screen readers.
Avoid stuffing keywords into alt text. Describe the image according to its purpose on the page.
How to Create Lists
Use a List block when information makes more sense as a set of points than as a paragraph.
You can create:
- bulleted lists
- numbered lists
Lists are useful for steps, features, requirements, checklists and short groups of related information.
Do not turn every paragraph into a list. Use them where they genuinely make the content easier to understand.
How to Add Buttons
The Buttons block lets you add one or more call-to-action buttons.
A button might link to:
- a contact page
- a service
- another useful guide
- a product
- a booking page
- another relevant page on your website
After adding the block, enter the button text and add the destination link.
Keep button wording clear so visitors know what will happen when they select it.
Understanding the Block Toolbar and Sidebar
WordPress splits many block controls between two areas.
Block Toolbar
The toolbar that appears when you select a block contains controls you are likely to use frequently.
These can include formatting, alignment, links and other block-specific actions.
Block Settings Sidebar
The sidebar generally contains more detailed settings.
Depending on the block and theme, these might include:
- colour
- typography
- dimensions
- borders
- spacing
- advanced settings
Not every block supports every option.
Your theme can also influence which design controls are available.
If you cannot make a particular visual change from the Block Editor, avoid forcing it with random settings or code. The change may belong at theme level instead.
Our guide to customising a WordPress theme safely explains the difference between content changes and wider theme customisation.
How to Use Block Patterns
Patterns are ready-made arrangements of blocks.
Instead of building a section from individual blocks every time, you can insert a pattern and adapt its content.
A pattern might contain:
- a heading and text
- images arranged with text
- a call-to-action section
- several columns
- buttons and supporting content
The exact patterns available can depend on WordPress, your theme and your plugins.
To find them, open the Block Inserter and look for Patterns.
Once you insert a normal pattern, you can edit its content for that particular page or post.
Patterns can save time when you want to reuse a layout without rebuilding the same structure repeatedly.
What Are Synced Patterns?
Synced patterns are useful when the same content should stay consistent across multiple places.
For example, you might create a repeated call-to-action or business information section and use it on several pages.
When a synced pattern is updated, the changes can be reflected everywhere that synced pattern is used.
That makes them powerful, but it also means you should edit them carefully.
Before changing a synced pattern, make sure you actually want the change to apply everywhere it appears.
If you want to edit one instance independently, you can detach it from the synced pattern first.
Older WordPress tutorials may call these Reusable Blocks. That terminology has been replaced by patterns and synced patterns in current WordPress versions.
Do You Need Extra Block Plugins?
WordPress includes a broad range of core blocks, so it is worth learning those before installing extra block collections.
Adding another plugin just because one specialised block looks useful can introduce more code, settings and future maintenance.
If the standard blocks genuinely cannot achieve what you need, an additional block plugin may make sense.
Our guide to WordPress Block Editor plugins covers some options worth considering.
How to Preview Your Page or Post
The editor is designed to give you a useful representation of your content, but you should still preview important changes before publishing them.
Use the preview or view controls in the editor to check how the content looks outside the editing interface.
Where available, WordPress can also provide previews for different screen sizes.
Treat these as helpful editing tools rather than a replacement for checking the real page.
For an important page, open the front end and check it directly.
Pay particular attention to:
- headings
- spacing
- images
- columns
- buttons
- links
- mobile layout
A page that looks fine inside the editor can still behave differently once your theme, plugins and front-end styles are applied.
How to Save or Publish Your Changes
If you are creating new content, WordPress will normally give you the option to save your work as a draft until it is ready.
When you are happy with it, use Publish to make the page or post public.
For an existing published page or post, use the save or update control to apply your changes.
Before doing so, quickly check:
- the title
- the content
- headings
- links
- images
- featured image if required
- categories or other relevant post settings
- the front-end preview
For substantial changes to an important live page, it can be sensible to work more cautiously rather than changing everything directly in production.
Common Block Editor Mistakes to Avoid
The Block Editor is flexible, but a few habits can make pages unnecessarily difficult to maintain.
Adding Too Many Layout Blocks
Groups, Columns and other layout blocks are useful, but excessive nesting makes pages harder to understand.
Keep the structure as simple as the design allows.
Using Headings for Styling
Do not choose a heading simply because it looks bigger or smaller.
Headings should describe the structure of the content.
Use design settings for visual styling instead.
Installing Plugins for Basic Blocks You Already Have
Check what WordPress already provides before installing another block plugin.
A simpler website is generally easier to maintain.
Ignoring Mobile Layouts
A row of blocks that looks good on a large monitor may not work well on a phone.
Preview your pages and test important layouts on real devices where possible.
Editing a Synced Pattern Without Realising It Is Shared
A synced pattern may appear on several pages.
Check what you have selected before making changes to shared content.
Making Theme Changes Inside Individual Pages
If you find yourself repeating the same styling change across many pages, you may be solving the problem in the wrong place.
Site-wide design changes usually belong in your theme or Site Editor rather than being repeated manually in every post.
Block Editor vs Site Editor
The names can be confusing because both interfaces use blocks.
The Block Editor is mainly where you create and edit the content of individual posts and pages.
The Site Editor is used for wider parts of the website, such as templates, navigation, styles, headers and footers when your site uses a compatible block theme.
A simple way to think about it is:
Block Editor: edit the content of this page or post.
Site Editor: edit the broader structure and design used across the website.
If you want to understand the second part, read our guide to the WordPress Site Editor and full-site editing.
Get Comfortable with Blocks Before Making Things Complicated
You do not need to learn every Block Editor feature before you can use WordPress effectively.
Start with the blocks you need most often:
- Paragraph
- Heading
- Image
- List
- Buttons
Then learn how to move them, adjust their settings and use List View.
Once those basics feel natural, patterns and more advanced layout blocks become much easier to understand.
The goal is not to use as many different blocks as possible. It is to create content that is clear, easy to maintain and works well for the people visiting your website.
If the Block Editor is getting in the way of a change you need to make, or you are unsure whether the problem sits in your content, theme or plugins, ask Newt Labs about one-off WordPress support.