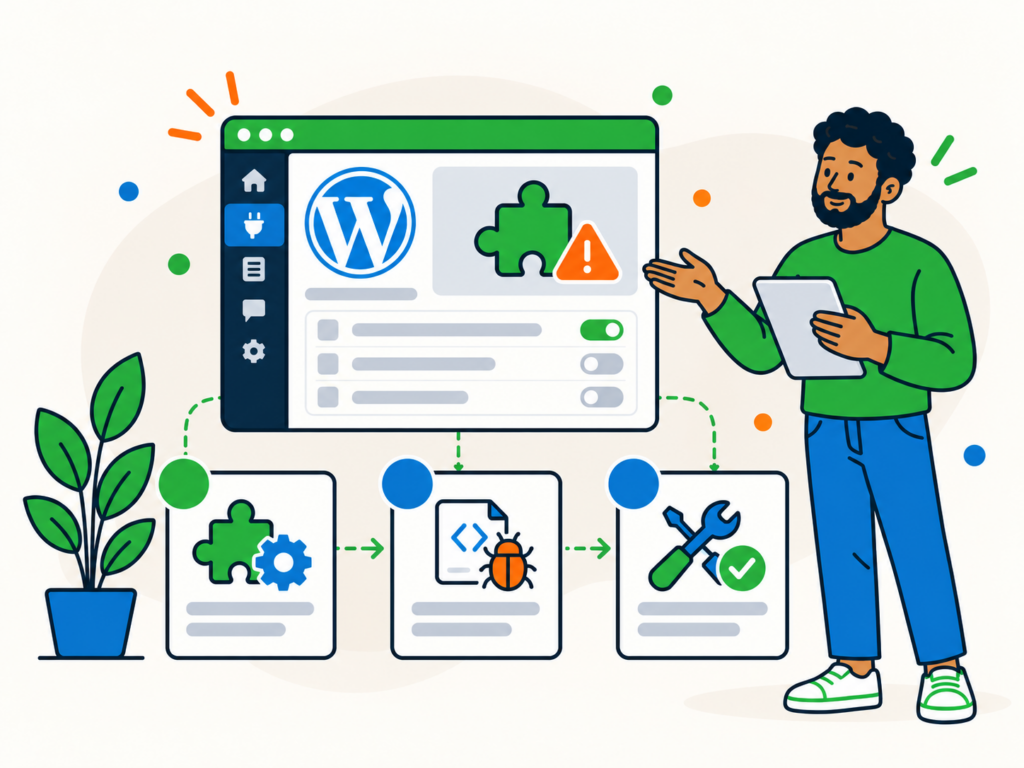
WordPress plugins add useful features to your website, but sometimes they cause problems. A contact form might stop sending emails, your site’s layout could break, or a plugin update might trigger a critical error.
When something goes wrong, it is tempting to deactivate every plugin or reinstall WordPress. However, making several changes at once can make the original problem harder to identify.
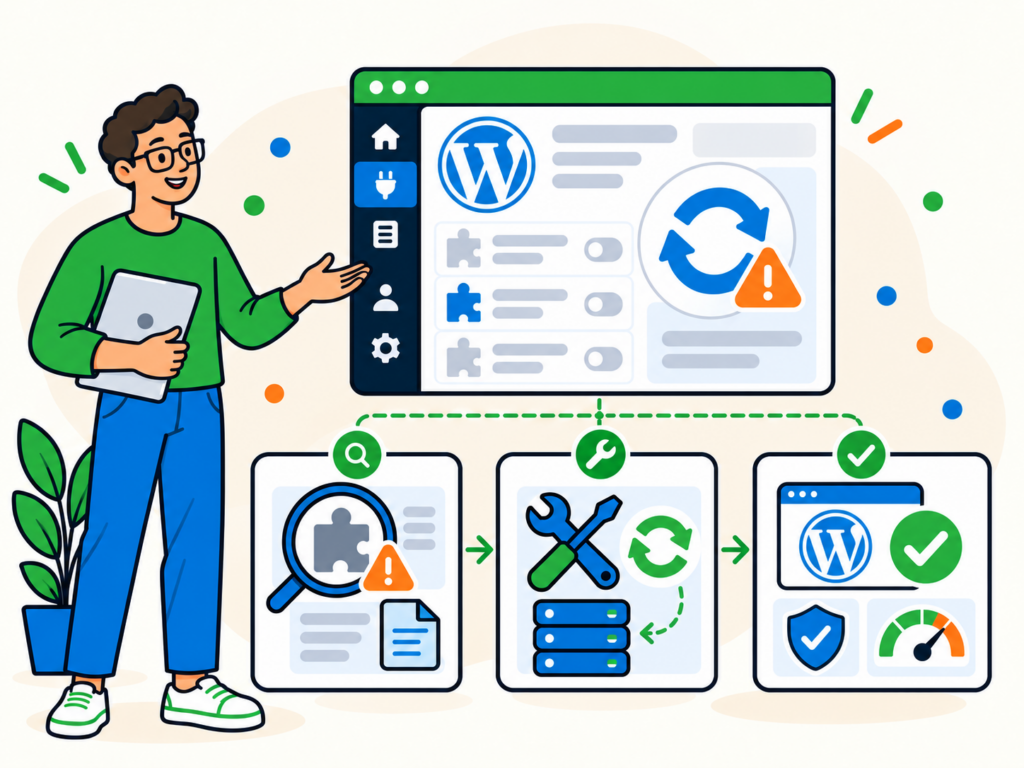
The best approach is to find out what has changed, identify the likely cause and test one solution at a time.
In this guide, we’ll explain how to fix WordPress plugin problems, identify conflicts, restore access when your dashboard isn’t working and reduce the risk of future issues.
What Causes WordPress Plugin Problems?
Plugins can stop working for several reasons. Understanding the possible causes will help you decide where to investigate first.
Plugin conflicts
Two plugins may work correctly on their own but interfere with each other when used together.
For example, a caching plugin might interfere with dynamic content generated by another plugin. Alternatively, two plugins might load conflicting JavaScript files or attempt to modify the same functionality.
A conflict does not necessarily mean either plugin is poorly developed. Sometimes the problem comes from how they interact.
Incompatible software versions
A plugin may not be fully compatible with your current version of WordPress, PHP, your theme or another plugin.
Problems can appear after updating any of these components, especially when the website contains older extensions or custom development.
Failed or incomplete updates
Plugin installations can fail because of file permissions, insufficient disk space, connection problems or server interruptions.
In some cases, an update completes but the new version introduces a bug or changes how an existing feature works.
Server limitations
Some plugins require additional PHP memory, specific PHP extensions or server functionality.
If your hosting environment does not meet those requirements, the plugin may fail, run slowly or produce errors.
However, slow performance does not automatically mean you need a larger hosting plan. The underlying cause should be investigated first.
Faulty configuration or custom code
A plugin might be functioning correctly but have incorrect settings.
Custom code, missing API credentials, expired licences or changes to an external service can also make a feature appear broken.
For this reason, not every apparent plugin problem requires deactivating or replacing the plugin.
Before You Start Troubleshooting
Before changing anything, establish how serious the problem is and what you can safely test.
Check what is actually broken
Start by identifying the symptoms.
| Problem | What to check first |
|---|---|
| WordPress critical error or blank screen | Recovery Mode, recent changes and PHP error logs |
| Contact form not working | Form settings, email delivery, browser errors and recent updates |
| Checkout or membership feature broken | Relevant extensions, payment or membership logs, and recent changes |
| Broken layout or missing elements | Theme compatibility, page builder updates, CSS and caching |
| Plugin cannot update or install | Error message, available storage, permissions and update requirements |
| Website suddenly slow | Recent changes, PHP errors, slow requests and server resources |
A clear description of the problem helps you avoid unnecessary changes.
For example, if your contact form submits successfully but no email arrives, the issue could be email delivery rather than the form plugin itself.
Check recent changes
Ask yourself:
- Was a plugin installed, activated or updated recently?
- Was WordPress core, PHP or the active theme updated?
- Did someone change the website’s settings or custom code?
- Did the hosting provider make any server changes?
- Does the problem affect the entire website or only one feature?
If the problem started immediately after a specific change, that is a useful clue, although it is not proof of the cause.
Make sure you have a reliable backup
Before making changes, check that you have a recent, usable backup of your website’s files and database.
Ideally, you should also have a separate backup of the current state so you can recover from any troubleshooting changes.
On a busy WooCommerce or membership website, avoid restoring an old database without considering orders, customer registrations and other recent activity.
For further guidance, read our article on how to back up and restore a WordPress website.
Use staging whenever possible
A staging website lets you investigate problems without disrupting your live website.
This is particularly important for online shops, booking systems, membership websites and other business-critical services.
You can learn more in our guide on how to create a WordPress staging website.
If the live website is already broken and you need to act immediately, limit changes to those necessary to restore service and keep a record of what you do.
How to Identify a Problematic WordPress Plugin
Once you understand the symptoms, the next step is to gather evidence.
Step 1: Review WordPress Site Health
If you can access the dashboard, navigate to Tools > Site Health.
WordPress checks several aspects of your website, including software versions, server configuration, background updates and certain technical problems.
Review any critical issues or recommended improvements.
Site Health will not identify every plugin conflict, but it can reveal an underlying issue worth investigating.
Step 2: Check the browser console
If a page loads but buttons, forms or other interactive features have stopped working, check your browser’s developer tools.
In Chrome, for example, right-click the page, select Inspect and open the Console tab.
Look for JavaScript errors that appear when you reproduce the problem.
The Network tab can also help identify failed requests, such as a form submission returning an error.
An error mentioning a particular plugin’s file can provide a useful clue, but it does not always mean that plugin is responsible. Another plugin or theme might be interfering with it.
Step 3: Review PHP and server error logs
PHP error logs can help identify fatal errors, memory exhaustion, missing functions and other problems that are not obvious in the browser.
Many hosting providers make error logs available through their control panel. Alternatively, your developer or hosting provider may be able to retrieve them.
Look for errors recorded around the time the problem occurred.
Pay attention to file paths, plugin names, timestamps and the type of error.
Not every warning is responsible for the problem you’re investigating, so focus on errors that correspond to the symptoms.
Step 4: Use WordPress debugging carefully
WordPress includes debugging settings that can provide more detailed information.
For advanced users, the following configuration enables debugging, writes errors to a log and prevents PHP messages from being displayed directly to visitors:
define( 'WP_DEBUG', true );
define( 'WP_DEBUG_LOG', true );
define( 'WP_DEBUG_DISPLAY', false );
@ini_set( 'display_errors', 0 );
These settings belong in wp-config.php, before the line that tells you to stop editing.
Debugging is best performed on a staging or development website.
Only edit wp-config.php if you understand the file and have a recovery method. Check existing definitions before making changes, since defining the same constant more than once can cause problems.
When WP_DEBUG_LOG is enabled with a value of true, WordPress normally writes messages to wp-content/debug.log.
That file may contain sensitive information and could be publicly accessible unless properly protected.
Use a secure log location where possible, restrict access and disable temporary debugging when you’ve finished.
For more details, refer to the official WordPress debugging documentation.
How to Fix WordPress Plugin Conflicts
If the evidence points towards a plugin conflict, the next step is to isolate the affected components.
Step 1: Test the suspected plugin
If a specific plugin was recently updated or activated, start with that plugin rather than deactivating everything.
On a staging website:
- Reproduce the problem so you know exactly what to test.
- Navigate to Plugins > Installed Plugins.
- Deactivate the suspected plugin.
- Test whether the original problem still occurs.
- Record the result before making another change.
Remember that deactivating a plugin may also disable an important website feature.
For example, deactivating a payment extension could stop customers from using that payment method.
Avoid carrying out disruptive tests on a live website during normal business activity.
Step 2: Identify other conflicting components
If disabling one plugin resolves the symptoms, that plugin may be involved in the problem.
However, the cause could be a conflict with another active extension or your theme.
On staging, you can test different combinations systematically.
For example, if Plugin A stops working when Plugin B is activated, test whether the issue occurs consistently with both enabled.
Change one variable at a time and record the result.
Avoid assuming that the last plugin activated is automatically the one at fault.
Step 3: Check plugin dependencies
Some plugins depend on other plugins to function.
A WooCommerce extension, for example, may require WooCommerce to remain active.
Disabling the required plugin can cause the extension to stop working, even when there is no software defect.
Before deactivating a plugin, check whether other extensions rely on it.
Also remember that some WordPress websites use must-use plugins, which are loaded differently and do not appear in the normal installed plugin list in the same way.
Step 4: Apply the appropriate fix
Once you’ve identified the likely cause, the solution may involve:
- Correcting a plugin setting.
- Updating an incompatible component.
- Installing a confirmed compatibility fix from the developer.
- Disabling an unnecessary overlapping feature.
- Replacing an unsupported plugin with a maintained alternative.
- Asking the relevant developer to investigate the conflict.
After making the change, test the original issue and any related functionality.
A successful test on one page does not necessarily mean the entire website is working correctly.
What If You Cannot Access the WordPress Dashboard?
A serious plugin error can sometimes prevent you from logging in to WordPress.
If this happens, avoid reinstalling WordPress or deleting plugin folders without investigating.
Try WordPress Recovery Mode
When certain fatal errors occur, WordPress may send a recovery email to the site’s administration email address.
The email can identify the affected component and provide a special link for accessing Recovery Mode.
If you receive one:
- Confirm that the email and website address are legitimate.
- Follow the recovery link.
- Log in to WordPress.
- Review the reported plugin or theme.
- Deactivate the affected component if appropriate.
- Investigate and fix the underlying problem before exiting Recovery Mode.
Recovery Mode is intended to help restore access and investigate the failure. It is not a permanent fix.
For a more detailed walkthrough, see our guide on how to fix the WordPress critical error message.
Disable a suspected plugin using your hosting file manager
If Recovery Mode is unavailable, you may be able to temporarily disable a plugin through your hosting provider’s file manager or a secure file-transfer connection.
This is an advanced recovery method.
First, make sure you have a backup and identify the correct WordPress installation.
Navigate to the plugin directory, usually:
wp-content/plugins/
Find the folder belonging to the suspected plugin.
For example, if the problem appears to involve a plugin stored in a folder named example-plugin, you could temporarily rename the folder to example-plugin-disabled.
WordPress will no longer be able to load the plugin from its original location.
You can then check whether dashboard access has returned.
Do not delete the folder. Renaming is intended as a temporary diagnostic measure.
If the problem is resolved, investigate the cause and restore or replace the affected plugin carefully.
Be aware that plugins with dependencies, custom integrations or special loading arrangements may require a different approach.
If you are unsure which folder belongs to the affected plugin, ask your hosting provider or a WordPress developer for help.
Use WP-CLI if you’re comfortable with the command line
WP-CLI provides another way to manage plugins without accessing the WordPress dashboard.
For example:
wp plugin deactivate example-plugin
Replace example-plugin with the correct plugin slug.
The command must be run in the appropriate WordPress installation and may require additional connection or environment options.
WP-CLI also supports listing plugins and checking their status, which can help confirm what is installed and active.
For multisite installations, plugin activation may need to be managed at the network level.
This method is intended for users with appropriate server access and technical experience.
Refer to the official WP-CLI plugin deactivation documentation for details.
How to Fix Problems After a Plugin Update
Sometimes a plugin stops working immediately after an update.
The right response depends on whether the update failed to install or the new version introduced a compatibility problem.
Check the update result
Start by reviewing the error message, update notification or available logs.
Look for signs of:
- Failed file installation.
- Incorrect file or directory permissions.
- Insufficient disk space.
- Missing PHP requirements.
- Conflicts with another plugin or theme.
- Errors introduced by the new plugin version.
If an update was interrupted, first establish whether the installed files are complete before attempting another update.
Review compatibility and release notes
Check the plugin developer’s documentation and release notes.
A new version may require a newer version of WordPress, PHP or another plugin.
It may also contain an important fix for the exact problem you’re experiencing.
Where appropriate, apply a confirmed fix and test the result.
For broader update guidance, see our article on how to update WordPress safely.
Restore a previous version when appropriate
If a plugin update introduces a confirmed problem, reverting to a known working version may help restore functionality.
However, you should only use a trusted version obtained from the original developer, a verified backup or another reliable source.
Avoid downloading unofficial plugin packages.
Some plugins also modify database structures during updates. Replacing their files with an older version might not be enough to restore compatibility.
For that reason, check the developer’s rollback instructions and confirm whether the earlier version is compatible with your current WordPress and PHP setup.
Do not uninstall the plugin simply to install an older version without checking whether the uninstall process could remove its settings or data.
If the affected release addresses an actively exploited security vulnerability, reverting to an older vulnerable version may introduce additional risk. Seek a supported fix or mitigation promptly.
Retest the affected functionality
Once you’ve applied the fix, test the specific feature that originally failed.
Also check related areas, such as forms, checkout, logins or scheduled tasks.
If caching is involved, clear the appropriate cache and repeat the test.
Record which version caused the issue, the fix you applied and any follow-up work needed.
How to Check Theme, PHP and Server Compatibility
Not every apparent plugin problem is caused by the plugin itself.
Your theme, PHP configuration or server environment may contribute to the issue.
Test for theme conflicts
A plugin may behave differently depending on the active WordPress theme.
For example, a theme might load scripts that interfere with a plugin’s frontend functionality.
If you suspect a theme conflict, test the affected feature using a suitable default WordPress theme on staging.
If the issue disappears, investigate the theme’s code, settings and compatibility with the plugin.
Do not switch the theme on a busy live website just to run a quick test. Doing so can change layouts, menus, widgets and other visitor-facing elements.
Check PHP compatibility
WordPress plugins can have different PHP requirements.
Review the plugin’s requirements alongside your website’s PHP version.
You can find useful environment information under Tools > Site Health > Info.
If your PHP version is unsupported, plan an appropriate upgrade with your hosting provider.
However, upgrading PHP can also affect older plugins and themes, so test compatibility first.
Investigate server resource problems
If you see memory exhaustion errors or consistently slow requests, investigate the server environment.
Useful checks include PHP memory limits, error logs, database performance, slow PHP requests and available server capacity.
Simply increasing the memory limit or upgrading hosting may temporarily reduce symptoms without correcting inefficient plugin behaviour.
The appropriate solution depends on what the evidence shows.
How to Prevent Future WordPress Plugin Problems
Not every compatibility issue can be prevented, but good maintenance reduces the chance of unexpected problems.
Choose well-maintained plugins
Before installing a plugin, consider its:
- Compatibility with your WordPress and PHP versions.
- Recent maintenance and release history.
- Support documentation and developer responsiveness.
- Security history and known vulnerabilities.
- Dependence on other plugins or external services.
- Importance to your website’s functionality.
A popular plugin is not automatically the best choice, and an older plugin is not necessarily unsafe solely because of its age.
Look at the overall evidence.
Keep WordPress software updated
Regular updates help maintain security and compatibility.
However, updates should be carried out with suitable backups, monitoring and testing.
The right balance between automatic and controlled updates depends on how your website works.
Our guide on whether to enable WordPress automatic updates explains the different approaches.
Remove plugins you no longer need
Unused plugins add code and maintenance responsibilities to your website.
If you no longer use a plugin, first check whether it stores important information or supports another feature.
Then remove it through the appropriate WordPress process once you’re confident it is no longer required.
Remember that deactivating and uninstalling are different actions. Uninstalling a plugin may also remove some of its stored data.
Maintain backups and monitoring
Keep reliable backups of your website’s files and database, and make sure they can be restored.
Monitor uptime and important features so you know when something stops working.
A website can still respond normally while a critical feature, such as checkout or form submission, is broken.
Test important changes
Use staging to check major updates, new extensions and changes to business-critical functionality.
For smaller websites, a straightforward update process with backups and post-update checks may be sufficient.
The aim is to find a maintenance approach that suits your website rather than making every update unnecessarily complicated.
Frequently Asked Questions
Will deactivating a WordPress plugin delete its data?
Usually, deactivating a plugin does not delete its stored settings or data.
However, the plugin’s functionality will stop, and some plugins perform additional actions during deactivation.
Uninstalling a plugin is different and may remove data depending on how the developer has implemented the uninstall process.
Always check before removing a plugin that manages important information.
Can one WordPress plugin break an entire website?
Yes.
A plugin can trigger a PHP fatal error or interfere with functionality used across multiple pages.
However, a serious error does not always mean the plugin is solely responsible. Compatibility issues involving themes, WordPress core or other extensions can produce similar symptoms.
Should I deactivate all plugins to find a conflict?
Not as your first step on a live website.
Start by reviewing recent changes, error logs and any plugin directly connected to the affected feature.
If broader isolation is necessary, use staging wherever possible.
Deactivating all plugins can interrupt checkout, security tools, memberships and other important services.
Should I reinstall a plugin if it stops working?
Not necessarily.
First check its settings, version, dependencies and error messages.
Reinstallation may help when files are damaged or missing, but it will not automatically resolve a compatibility problem.
Some uninstall or reinstall procedures may affect stored data, so check the plugin’s documentation and take an appropriate backup first.
Can an automatic update cause a plugin conflict?
Yes.
An automatic update can introduce the same compatibility problems as a manually installed update.
The difference is that an automatic update may happen without someone actively monitoring the website.
Backups, update notifications and monitoring help you identify and recover from problems more quickly.
When to Get Help With WordPress Plugin Problems
The safest way to fix a WordPress plugin problem is to identify the cause before changing multiple components.
Start with the symptoms, check recent changes, review available logs and test suspected conflicts carefully.
If the dashboard is inaccessible, WordPress Recovery Mode or controlled plugin deactivation may help you restore access.
Most importantly, maintain suitable backups and avoid making disruptive changes to a live website without understanding their consequences.
If you’re dealing with a broken plugin, a failed update or a conflict you cannot identify, Newt Labs Website Repair can help investigate and fix the issue.
For websites that need more regular attention, our WordPress Maintenance service can help with ongoing updates, monitoring and maintenance.