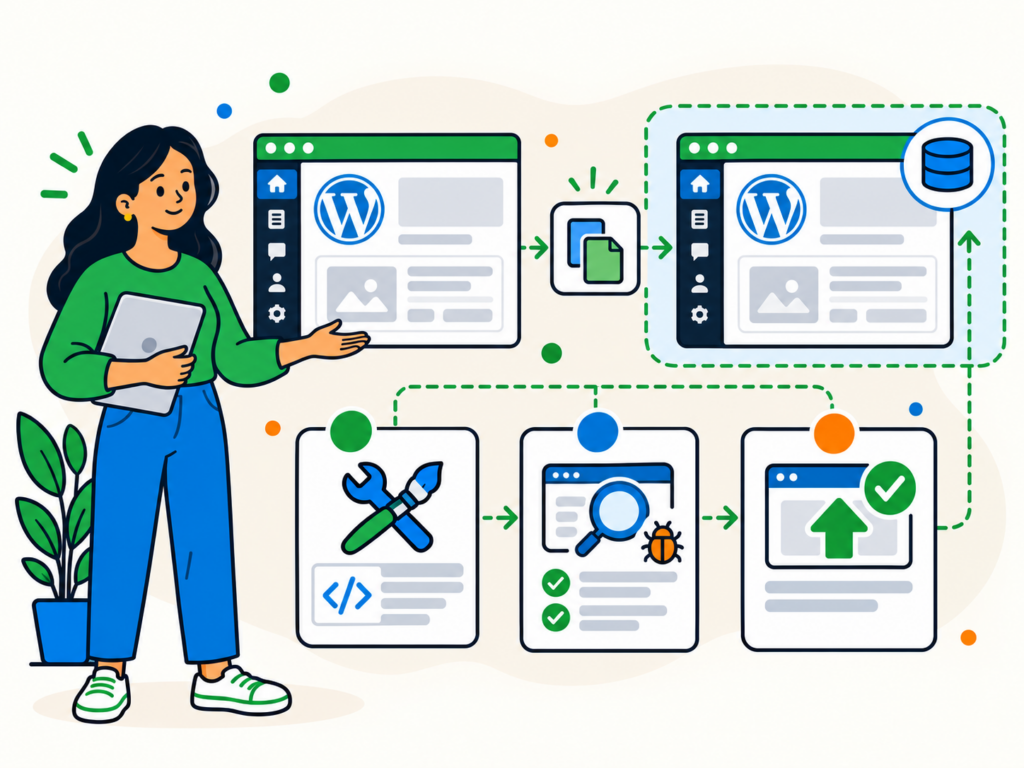
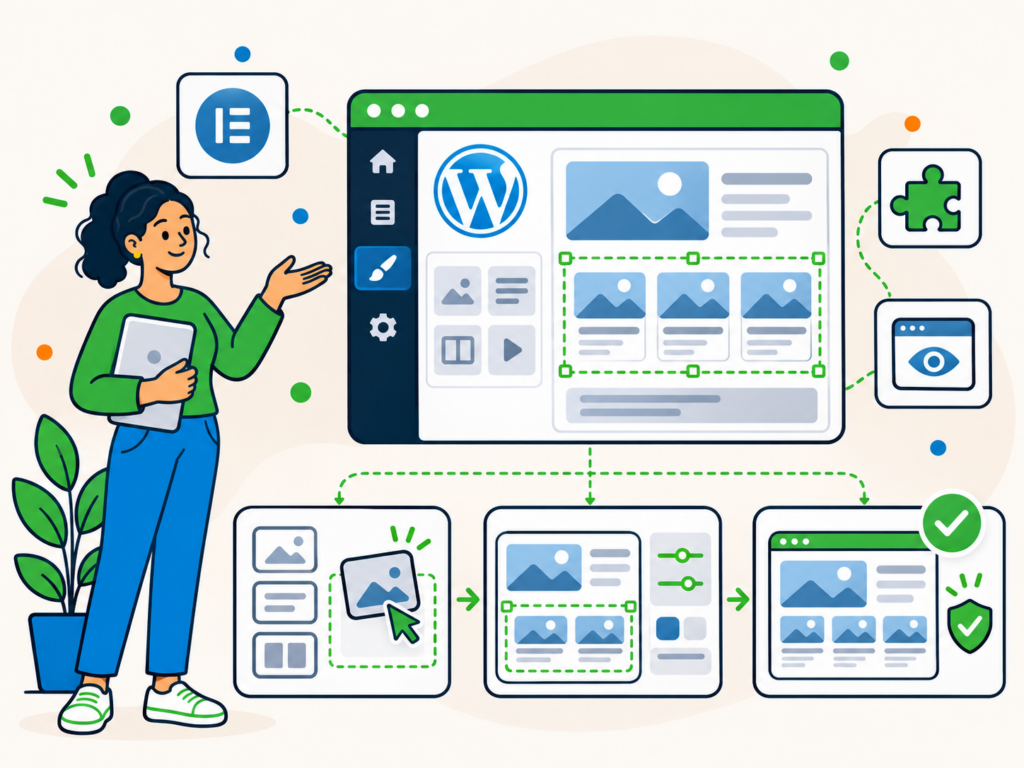
A well-designed blog should make your content easy to read, help visitors find other articles and look consistent across your website.
With Elementor blog templates, you can customise how individual posts and blog listings appear without designing every page from scratch.
For example, you could create a blog post layout with a featured image, author details and a carefully styled content area. You could also design a blog homepage that displays your latest articles in a grid.
In this guide, we’ll explain how Elementor blog templates work, how to create them using Elementor Pro and how to customise them to suit your website.
What Are Elementor Blog Templates?
An Elementor blog template is a reusable layout that controls how your WordPress blog content appears.
Rather than manually designing each article, you create a template that automatically displays information from your posts, such as titles, images and content.
There are two main types of blog templates to understand.
Single Post templates
A Single Post template controls the appearance of an individual blog article.
It can include:
- The post title and featured image.
- Author information and publication date.
- The main article content.
- Categories, navigation links and comments.
For example, you could design a layout with a large featured image above the article title, followed by the author information and a narrow content area for comfortable reading.
Once the template is applied, WordPress uses that layout to display the relevant posts.
You can still write your articles using the standard WordPress editor. The Elementor template handles their appearance.
Archive templates
An Archive template controls how groups of blog posts are displayed.
These include your main blog listing, category pages, tag archives and other collections of posts.
For example, you could create a three-column grid showing each article’s featured image, title, publication date and short excerpt.
When you publish new articles, the archive displays them automatically according to the relevant WordPress query.
What’s the difference between a template and a theme?
A WordPress theme provides the broader design and structure of your website. Elementor templates customise particular layouts within that website.
Some themes also provide their own page templates or work with Elementor. However, installing an Elementor-compatible theme isn’t the same as creating an Elementor Single Post or Archive template.
If you’re still deciding which page builder to use, see our comparison of four free WordPress page builders.
What You Need Before Starting
To follow this tutorial, you’ll need:
- A working WordPress website.
- The Elementor plugin installed and activated.
- An active Elementor Pro subscription that includes Theme Builder.
- A compatible WordPress theme.
- At least one published blog post to use when previewing your design.
You can use the free Elementor plugin to design individual pages, but the Theme Builder features covered here require Elementor Pro.
If you haven’t installed Elementor yet, follow our guide on how to install WordPress plugins.
Before making changes to an existing website, create a backup and use a staging environment where possible. Publishing a new blog template can affect the appearance of many existing articles at once.
It’s also worth checking whether your theme already provides the layout you want. You might only need a few adjustments rather than a completely new design.
How to Create a Single Post Template in Elementor
A Single Post template is a good place to start because it gives you a consistent layout for individual blog articles.
Here’s how to create one.
Step 1: Open Elementor Theme Builder
- Sign in to your WordPress dashboard.
- Navigate to Elementor > Theme Builder.
- Find the Single Post section.
- Click the plus icon to create a new template.
Elementor will open its Template Library.
You can choose a ready-made Single Post design if one is available with your subscription, or close the library to start with a blank layout.
For this tutorial, we’ll build a simple template from scratch.
Step 2: Add the post title and featured image
Start by adding a container to hold the main article content.
Search for the Post Title widget and drag it into your layout.
This widget automatically displays the title of whichever blog post is being viewed. You don’t need to enter the title manually.
Next, add the Featured Image widget below it.
The image will change automatically to match the featured image assigned to each article.
You can adjust the image size, alignment and surrounding spacing to suit your design.
If you use the post title as the main page heading, make sure it uses the appropriate H1 heading level. Avoid creating a second H1 elsewhere in the article layout.
Step 3: Add the post content
Next, search for the Post Content widget and place it below your title and featured image.
This is one of the most important parts of your template.
The Post Content widget displays the actual content written for each blog article, including its paragraphs, headings, images and other supported elements.
Without it, Elementor cannot display the main article content correctly through the Single Post template.
You should include one Post Content widget in your template.
Avoid writing a specific article’s text directly into the template. Doing so would repeat that text across every post using the same layout.
Instead, use the template to control the structure and styling while WordPress supplies the individual article content.
Step 4: Add author details and other useful elements
Once the main content is in place, you can add other widgets to improve the layout.
For example:
- Post Info: Display information such as the author, date and categories.
- Author Box: Introduce the person who wrote the article.
- Post Navigation: Help readers move between articles.
- Post Comments: Display the comments section if your website allows comments.
You don’t need every widget.
A simple blog might only need the title, featured image, author details and content. Adding too many elements can distract readers from the article itself.
Step 5: Preview the template with an existing post
Before publishing, preview the design using an actual article from your website.
Open Elementor’s preview settings and select an existing post as the dynamic content source.
The editor will use that article’s information to populate the template preview.
Check that the title, image and content display as expected.
Try previewing a short article and a longer one if possible. This can reveal spacing or layout problems that aren’t obvious when testing with only one example.
Step 6: Publish and set display conditions
When you’re happy with the layout, click Publish.
Elementor will ask you to set display conditions. These determine where your new template appears.
For example, you could apply the design to:
- All standard blog posts.
- Posts within a particular category.
- A more limited group of posts.
If you’re creating a standard layout for your entire blog, you can choose to include all posts.
However, if your website already has different layouts for certain categories, be careful not to override them unintentionally.
Click Save & Close once you’ve selected the appropriate conditions.
Finally, open an actual blog post on the public website and confirm that the template displays correctly.
How to Create a Blog Archive Template
Now that your individual articles have a consistent layout, you can customise the page that displays your blog posts together.
An archive might show the latest posts, articles from a particular category or another collection of content.
Step 1: Check your WordPress blog page settings
First, go to Settings > Reading in your WordPress dashboard.
Look for the option that controls which page displays your latest posts.
If your website already has a working blog page, you can leave the existing setting unchanged.
If you’re setting up a new blog, create a blank page named Blog, publish it and select it as the Posts page under the Reading settings.
Save your changes.
Be careful when changing this setting on an established website, as it controls how WordPress handles your posts listing.
Step 2: Create an Archive template
Return to Elementor > Theme Builder.
Find the Archive section and click the plus icon to add a new template.
As with the Single Post template, you can select an available ready-made design or start with a blank layout.
For a simple blog archive, begin with a heading and a section for displaying your articles.
You can use dynamic content for the archive heading so it reflects the page being viewed, such as a category name.
Step 3: Add the Archive Posts widget
Search for the Archive Posts widget and add it to your layout.
This widget is designed for Elementor Archive templates. It displays the posts that belong to the archive currently being viewed.
For example, when someone visits a category archive, the widget displays posts from that category.
You can customise its appearance using options such as:
- The number of columns.
- Featured image position and size.
- Post titles and excerpts.
- Author and date information.
- Spacing between articles.
- Pagination controls.
You might choose a three-column grid for desktop screens and a single-column layout for smaller devices.
The number of posts shown per page is controlled by your WordPress Reading settings, so check those if the archive isn’t displaying the expected number.
Don’t confuse Archive Posts with the regular Posts widget. The regular Posts widget is useful for displaying a selected collection of articles on an ordinary page, while Archive Posts is designed to work with the current archive.
Step 4: Preview and publish the archive
Use Elementor’s preview settings to check the template against a relevant archive.
For example, preview your main blog listing or one of your category pages.
Check how the layout looks with different article titles and featured images.
When you’re satisfied, click Publish and configure the display conditions.
You can apply the template broadly or limit it to particular archives, depending on your website’s requirements.
Save the conditions and visit the relevant archive pages to confirm that everything works correctly.
How Elementor Template Display Conditions Work
Display conditions are particularly important because they decide where your templates are used.
Without the correct conditions, a template may not appear where you expect it.
You can use conditions to include or exclude different parts of your website.
For example, imagine you run a blog with three categories:
- News
- Tutorials
- Case Studies
You might want one Single Post template for News and Tutorials, but a different layout for Case Studies.
Elementor lets you create separate templates and assign suitable conditions to each.
Archive templates can also have their own conditions. You could use a general archive design for most categories and a different one for your Case Studies archive.
Remember that a category archive template and a Single Post template are not the same thing. One controls the listing of articles, while the other controls the individual articles.
If you already have multiple Elementor templates, review their existing conditions before publishing another one.
To change a template’s conditions later, return to Theme Builder, select the template and use the option to edit its conditions.
You can find more detail in Elementor’s official display conditions guide.
How to Customise Your Elementor Blog Templates
Once your basic templates work, you can refine their appearance.
The best improvements usually make your content easier to read and navigate rather than adding more decorative features.
Typography and spacing
Choose fonts that are comfortable to read, especially for longer articles.
Pay attention to the size of body text, heading hierarchy, line spacing and the width of your main content area.
Very wide paragraphs can be difficult to follow, while cramped spacing makes an article feel cluttered.
Use consistent heading styles so readers can recognise the structure of each article.
Featured images and visual elements
Featured images help make articles recognisable in blog listings and give individual posts a visual introduction.
Try to use consistent image proportions across your archive cards.
For individual posts, make sure images are large enough to display clearly without uploading unnecessarily oversized files.
You can also customise colours, backgrounds, borders and other elements to match your branding.
Avoid excessive animations or decorative effects that distract from the content.
Responsive layouts
Your blog should work just as well on a phone as it does on a desktop computer.
Use Elementor’s responsive editing controls to review the layout at different screen sizes.
Check that:
- Text remains readable without zooming.
- Images fit within the screen.
- Columns stack appropriately on smaller devices.
- Buttons and links are easy to select.
- Nothing overlaps or extends beyond the viewport.
Don’t rely exclusively on Elementor’s editor preview. Test your published pages on actual devices or browser sizes too.
Headers, footers and navigation
Elementor Theme Builder can also be used to create headers and footers, but you don’t necessarily need to replace those provided by your existing theme.
If your current header and footer work well, there’s little benefit in recreating them just for your blog.
Focus on keeping navigation consistent and making it easy for readers to find other relevant articles.
Can You Use Ready-Made Elementor Blog Templates?
You don’t have to build every Elementor layout yourself.
Elementor provides a Template Library containing ready-made designs that can help you get started.
Some designs are available with the free plugin, while others require Elementor Pro or particular subscription features.
You can open the Template Library from the Elementor editor and choose from the designs available to your account.
There are also Elementor website kits, which can contain multiple templates and other settings intended to work together.
However, it’s important to understand what you’re importing.
A single page design is not automatically a reusable Single Post template. Likewise, a complete website kit can affect more than one page or template.
Before importing a kit into an established website:
- Check which templates and settings it includes.
- Confirm that any required plugins and premium features are available.
- Back up your website.
- Test the import on staging where possible.
- Review the resulting templates and display conditions before making them live.
You can read more about the process in Elementor’s Template Library documentation.
Common Elementor Blog Template Problems
Even a carefully designed template can sometimes behave unexpectedly.
Here are a few issues worth checking before assuming something is broken.
The blog post content doesn’t appear
Open your Single Post template and check that it contains the Post Content widget.
This widget is required to display the article’s main content dynamically.
Also check that you’ve only added one instance of it.
The template isn’t showing on the website
Start by checking the template’s display conditions in Theme Builder.
Make sure it has been published and is assigned to the posts or archives you want to customise.
For Single Post templates, also check the affected post’s page layout. Elementor’s documentation specifies that posts using the Default layout can use the Single Post template, while Canvas and Full Width layouts can prevent it from being applied.
If you’ve recently changed a template, caching may also mean you’re seeing an older version of the page.
The layout looks different from the editor
Differences between the editor preview and the published page can result from theme styles, cached CSS or conflicts with other plugins.
Check the page in a private browser window and review any caching layers in use.
If the problem persists, Elementor provides a Clear Files & Data option under its editor tools, which can help when generated styles are outdated.
Back up the website before using troubleshooting tools or making changes to live configuration.
The archive shows the wrong posts
Check that you’re using the Archive Posts widget inside an Archive template.
Then review the archive’s display conditions and the WordPress Reading settings.
If you’ve used a regular Posts widget instead, its own query settings may be controlling which articles appear.
The two widgets have different purposes, so choosing the correct one matters.
Final Checks Before Publishing
Before making your new blog design available to visitors, run through these checks:
- Open several existing blog posts and make sure their titles, images and content display correctly.
- Test the main blog archive, category pages and pagination.
- Check the layout on desktop and mobile screens.
- Confirm that headings follow a logical structure and links are accessible.
- Check that images have appropriate alternative text and don’t slow down the page unnecessarily.
- Make sure there are no duplicated titles, featured images, headers or other elements.
- Review any existing templates and confirm that the new display conditions haven’t unintentionally replaced them.
For business websites, consider testing important contact forms, navigation and other interactive elements after making significant layout changes.
You should also check that your website’s caching and performance tools are working as expected.
Taking a little time to test these details can prevent problems appearing across dozens of articles.
Create a Blog That Works for Your Readers
Elementor blog templates can help you create a consistent, professional-looking blog without manually designing every article.
A Single Post template controls how individual articles appear, while an Archive template lets you customise blog listings and category pages.
Together, they give you greater flexibility over your website’s presentation while allowing you to manage content through WordPress.
The key is to keep the design practical. Clear typography, sensible spacing, responsive layouts and straightforward navigation will usually do more for your readers than complicated visual effects.
If you don’t need Elementor’s additional design controls, WordPress’s own Site Editor may also be worth considering. Our WordPress Site Editor guide explains how its native template editing features work.
Need help improving your WordPress website?
Newt Labs offers one-off website changes for layout adjustments, content updates and other practical improvements.
For more involved Elementor customisation or template development, we can review your requirements and advise on the work involved.